Getting Started
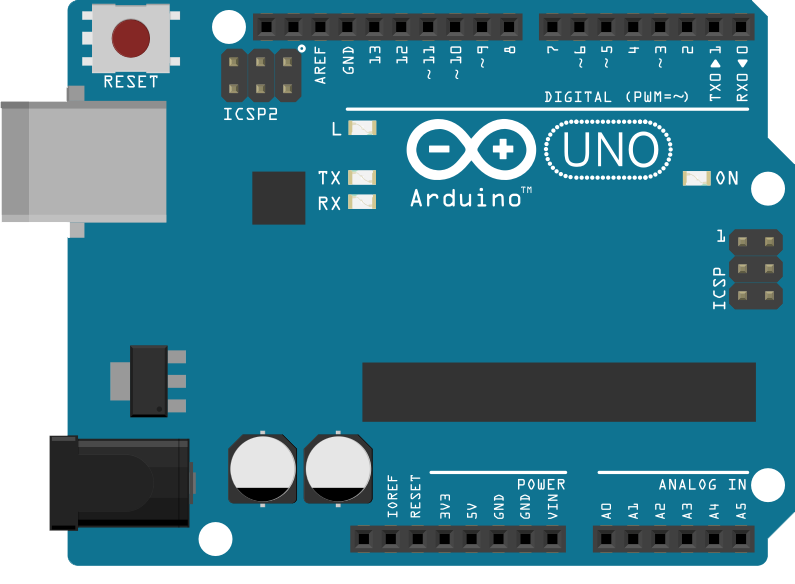
The projects on this website use a small, programmable circuit board called a microcontroller (sometimes called by the brand name Arduino). By definition, these boards are computers: they can run code, just like the computers in your phone or on a rocket.
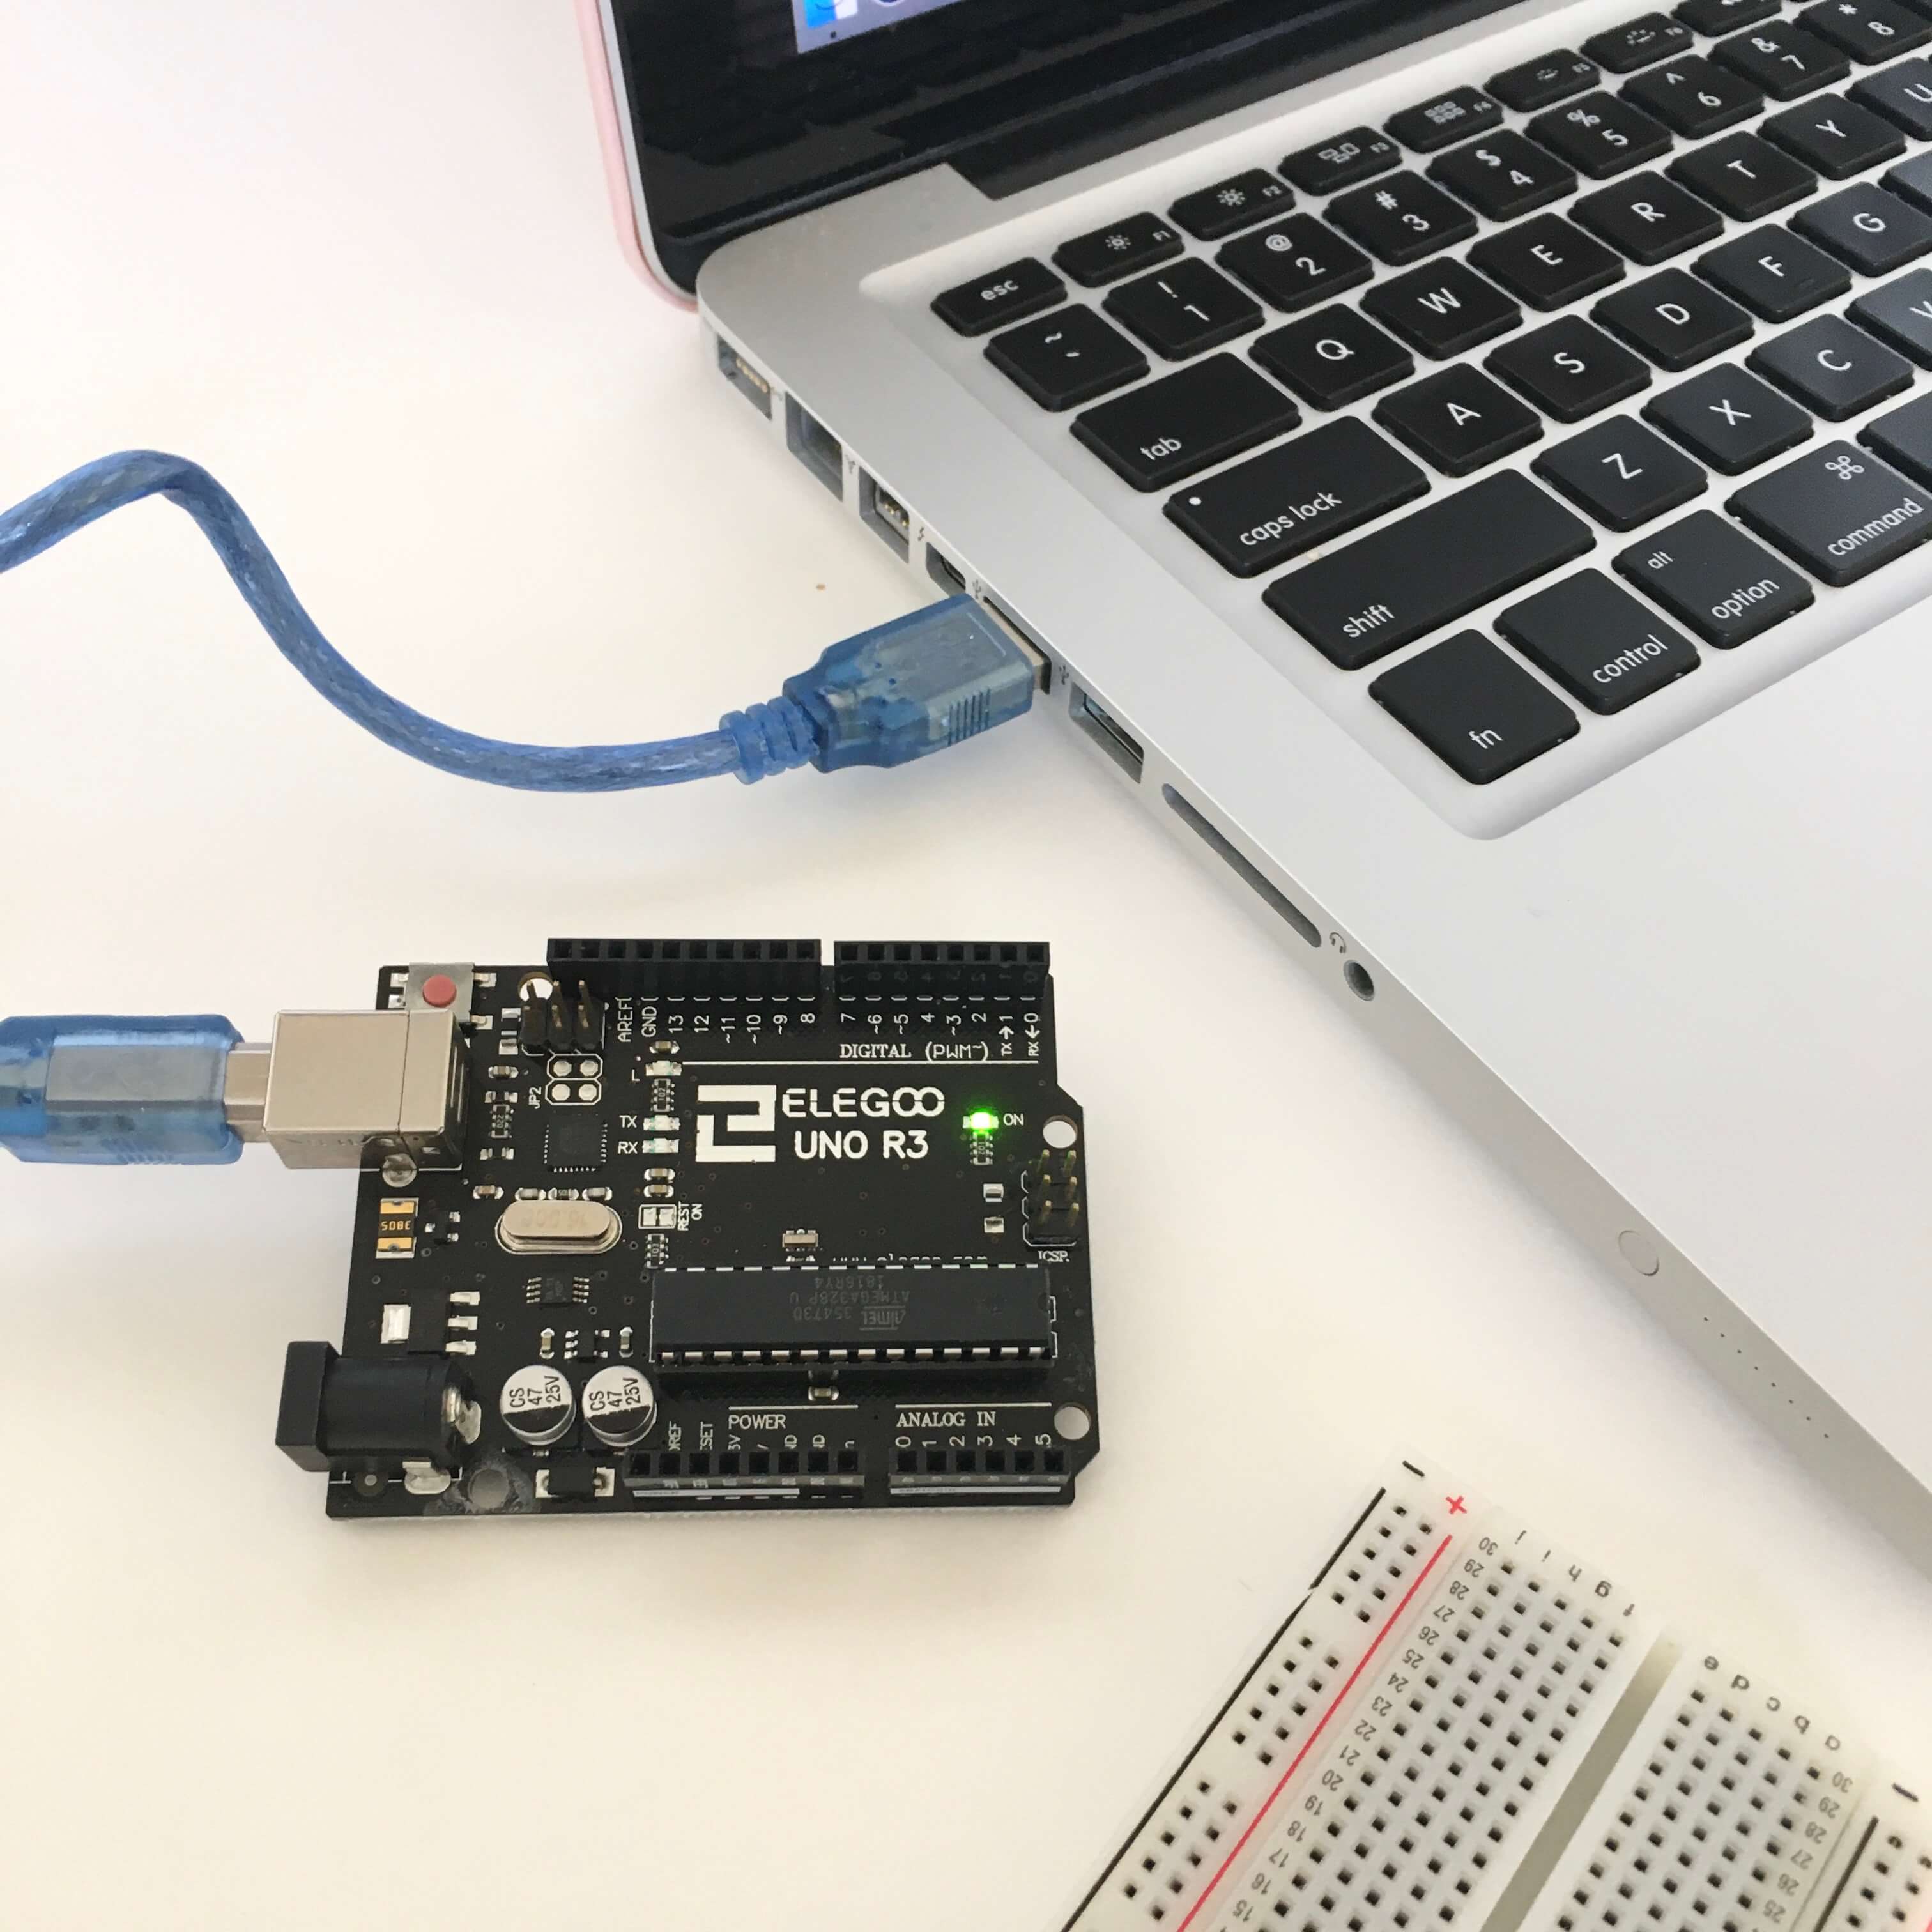
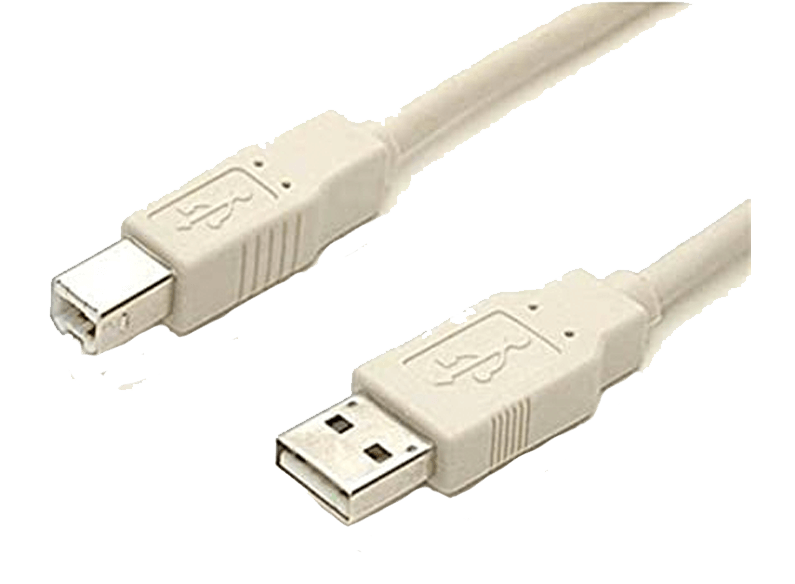
Although your microcontroller is a computer, it's missing a lot of the things you probably associate with the computers in your life: a keyboard, a mouse, and a screen. Since it has none of these things, you'll need to write code on your computer first, then upload it to your microcontroller using a USB cable.
The Arduino IDE is a free software for writing and uploading code. Download the software at https://www.arduino.cc/en/software, or create a free account to use the browser version at https://create.arduino.cc/editor (note that the browser version also requires a download).
Plug one end of your USB cord into your microcontroller board and the other into a USB port on your computer. Follow the instructions on the Arduino website above to launch the software you just downloaded.
That's it! When you're ready, move on to Project One to build your first circuit.