Project Six: Musical Cupcake Topper

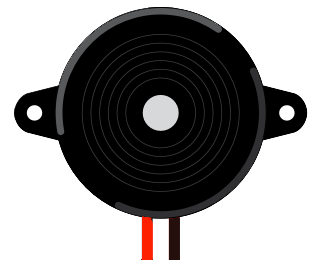
Surprise your friends with a birthday serenade! In this project you will learn how to use a piezo to play “Happy Birthday”. A piezo can both detect vibrations (input) and create vibrations (output) to play tones. With a little math and some code, you can recreate any song on a piezo.
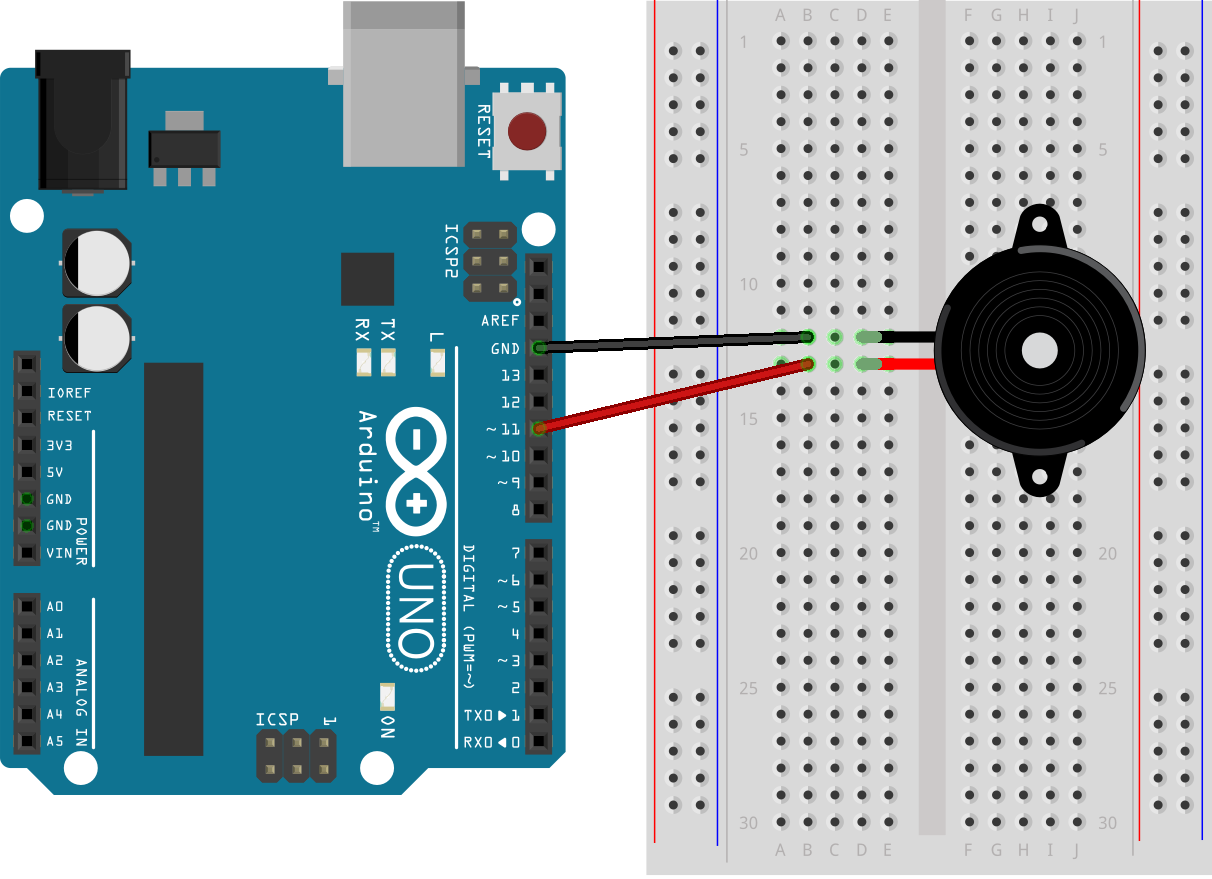
The circuit for this project is very simple, so your code will be the star. Connect one pin of the piezo to ground, and the other to pin 11.
Take a look at the code below. Underneath all the definitions, there are two new structures called beats[] and notes[]. These are both arrays, a common data structure for storing lots of information of one particular type. In our case, both arrays store numbers (integers). Remember that the letters in notes[] actually represent numbers, since you defined them at the beginning of the code.
Arrays are zero-indexed, which means that the first item in the list is thought of as #0, rather than #1. We can ask for whichever item we want by using brackets: the first item in the list is arrayName[0], followed by arrayName[1], arrayName[2], and so on. Be careful not to ask for a value in a position that is greater than the length of the list, or you will get an out of bounds error. By keeping track of the length of our song in the variable numNotes, we can prevent this error.
Now look inside the loop function on line 24. To play a note, the piezo must vibrate at a specific frequency. We can create these vibrations by supplying and removing power from the piezo for specific amounts of time. The longer we wait between toggling power, the lower the pitch will sound. To play an A (frequency 440 Hz), we digitally write HIGH to the piezo pin, wait for 440 microseconds with the delayMicroseconds() function, then digitally write LOW. We then record how much time has passed, and continue to toggle power until the note has played for its full duration.
#define speakerPin 11#define G 1275#define A 1136#define B 1014#define C 956#define D 834#define E 765#define F 715#define g 645int beats[] = {1, 1, 2, 2, 2, 4, 1, 1, 2, 2, 2, 4,1, 1, 2, 2, 2, 2, 4, 1, 1, 2, 2, 2, 4};int notes[] = {G, G, A, G, C, B, G, G, A, G, D, C, G,G, g, E, C, B, A, F, F, E, C, D, C};int numNotes = 25;int tempo = 200;long durationPlayed = 0;void setup(){pinMode(speakerPin, OUTPUT);}void loop(){for (int i = 0; i < numNotes; i++){while(durationPlayed < beats[i]*60*1000000/tempo){digitalWrite(speakerPin, HIGH);delayMicroseconds(notes[i]);digitalWrite(speakerPin, LOW);delayMicroseconds(notes[i]);durationPlayed+=notes[i]*2;}durationPlayed = 0;delay(10); //delay between notes}}
Make It Yours
The code in the loop will repeat the song until you disconnect power. Try adding a pushbutton to your circuit and an if statement around this code to play the song on demand! If you would like to change the key of the song, check out the table of frequencies at the end of this project.
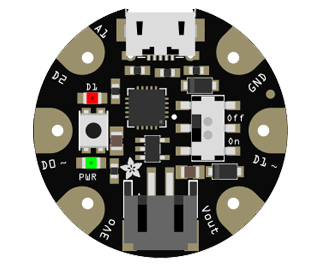
Up to this point, you’ve created all your circuits on a solderless breadboard. This is a great way to prototype, but sometimes you want your final product to be smaller -- in this case, small enough to fit on top of a cupcake. A common way to reduce size is to use a different microcontroller. This project will use the Adafruit Gemma because it is lightweight and comes with a handy power switch. If you’re satisfied with your breadboard and Arduino melodies, you can move on to the next project. Otherwise, read on to learn how to use the Gemma.
First, you will need a micro-B USB cable to upload code onto the Gemma board. Make sure that the cable can transmit data and is not power-only (the box or packaging should clarify).
Next, your software needs more information about the Gemma. Please visit https://learn.adafruit.com/add-boards-arduino-v164/overview and follow the instructions for adding third party boards.
Now, open the Tools > Board menu and select Adafruit Gemma 8MHz. You’re ready to upload code! You must change the first line of the code above to be #define speakerPin 0. The rest of the code should remain unchanged.
Your code can only be uploaded to the Gemma while the board is in Bootloader Mode, indicated by a pulsing red light. This mode lasts about ten seconds and can be activated by connecting your board to your USB port, or by pressing the on-board button. Activate Bootloader Mode and upload your code.
You’ll notice that your Gemma has flat metal pads instead of breadboard holes. You must be able to make a secure connection between these pads and the legs of your piezo to conduct electricity. The best way to do this is by soldering, a means of using heat to electrically join components. Your local library, college, or makerspace may have soldering irons available to use. Otherwise, it is possible -- but not as secure -- to make connections by wrapping wire around the Gemma holes and the piezo legs. Attach the piezo as shown below.
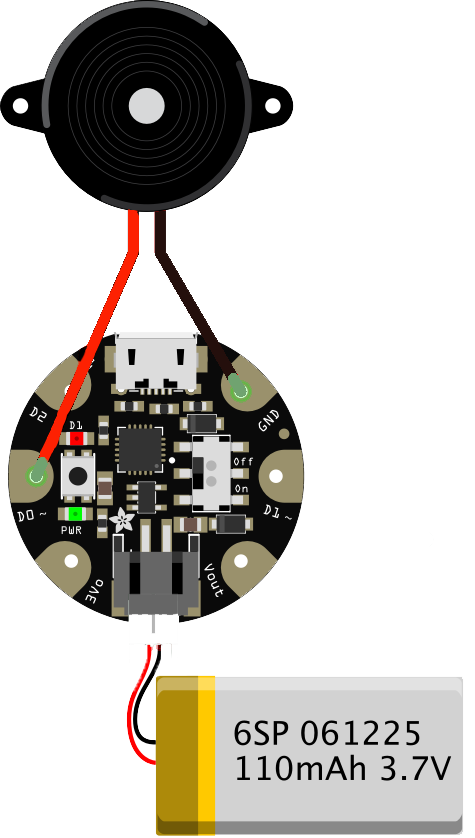
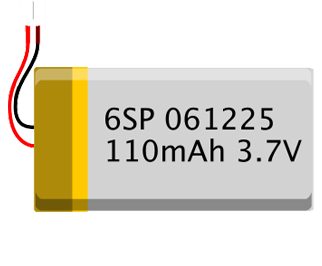
The Gemma has an on-board battery port, so you do not have to make manual connections to the 3Vo and GND pins. Simply plug a battery with JST leads into the port. Flip on the power switch and listen to your piezo sing!
Make It Yours
To create a compact cupcake topper, tape the piezo flat against the back of the Gemma. Then tape down a long toothpick or straw, and finally, secure the battery over all of these elements. The toothpick should be tightly wedged between the piezo and the battery.
| Note | Frequency (Hz) |
|---|---|
| A3 | 220 |
| A#3 | 233 |
| B3 | 247 |
| C4 | 262 |
| C#4 | 277 |
| D4 | 294 |
| D#4 | 311 |
| E4 | 330 |
| F4 | 349 |
| F#4 | 370 |
| G4 | 394 |
| G#4 | 415 |
| A4 | 440 |
| A#4 | 466 |
| B4 | 493 |
| C5 | 523 |
| C#5 | 554 |
| D5 | 587 |
| D#5 | 622 |
| E5 | 659 |
| F5 | 698 |
| F#5 | 740 |
| G5 | 784 |
| G#5 | 830 |
| A5 | 880 |