Project Three: Tea Brewing Robot
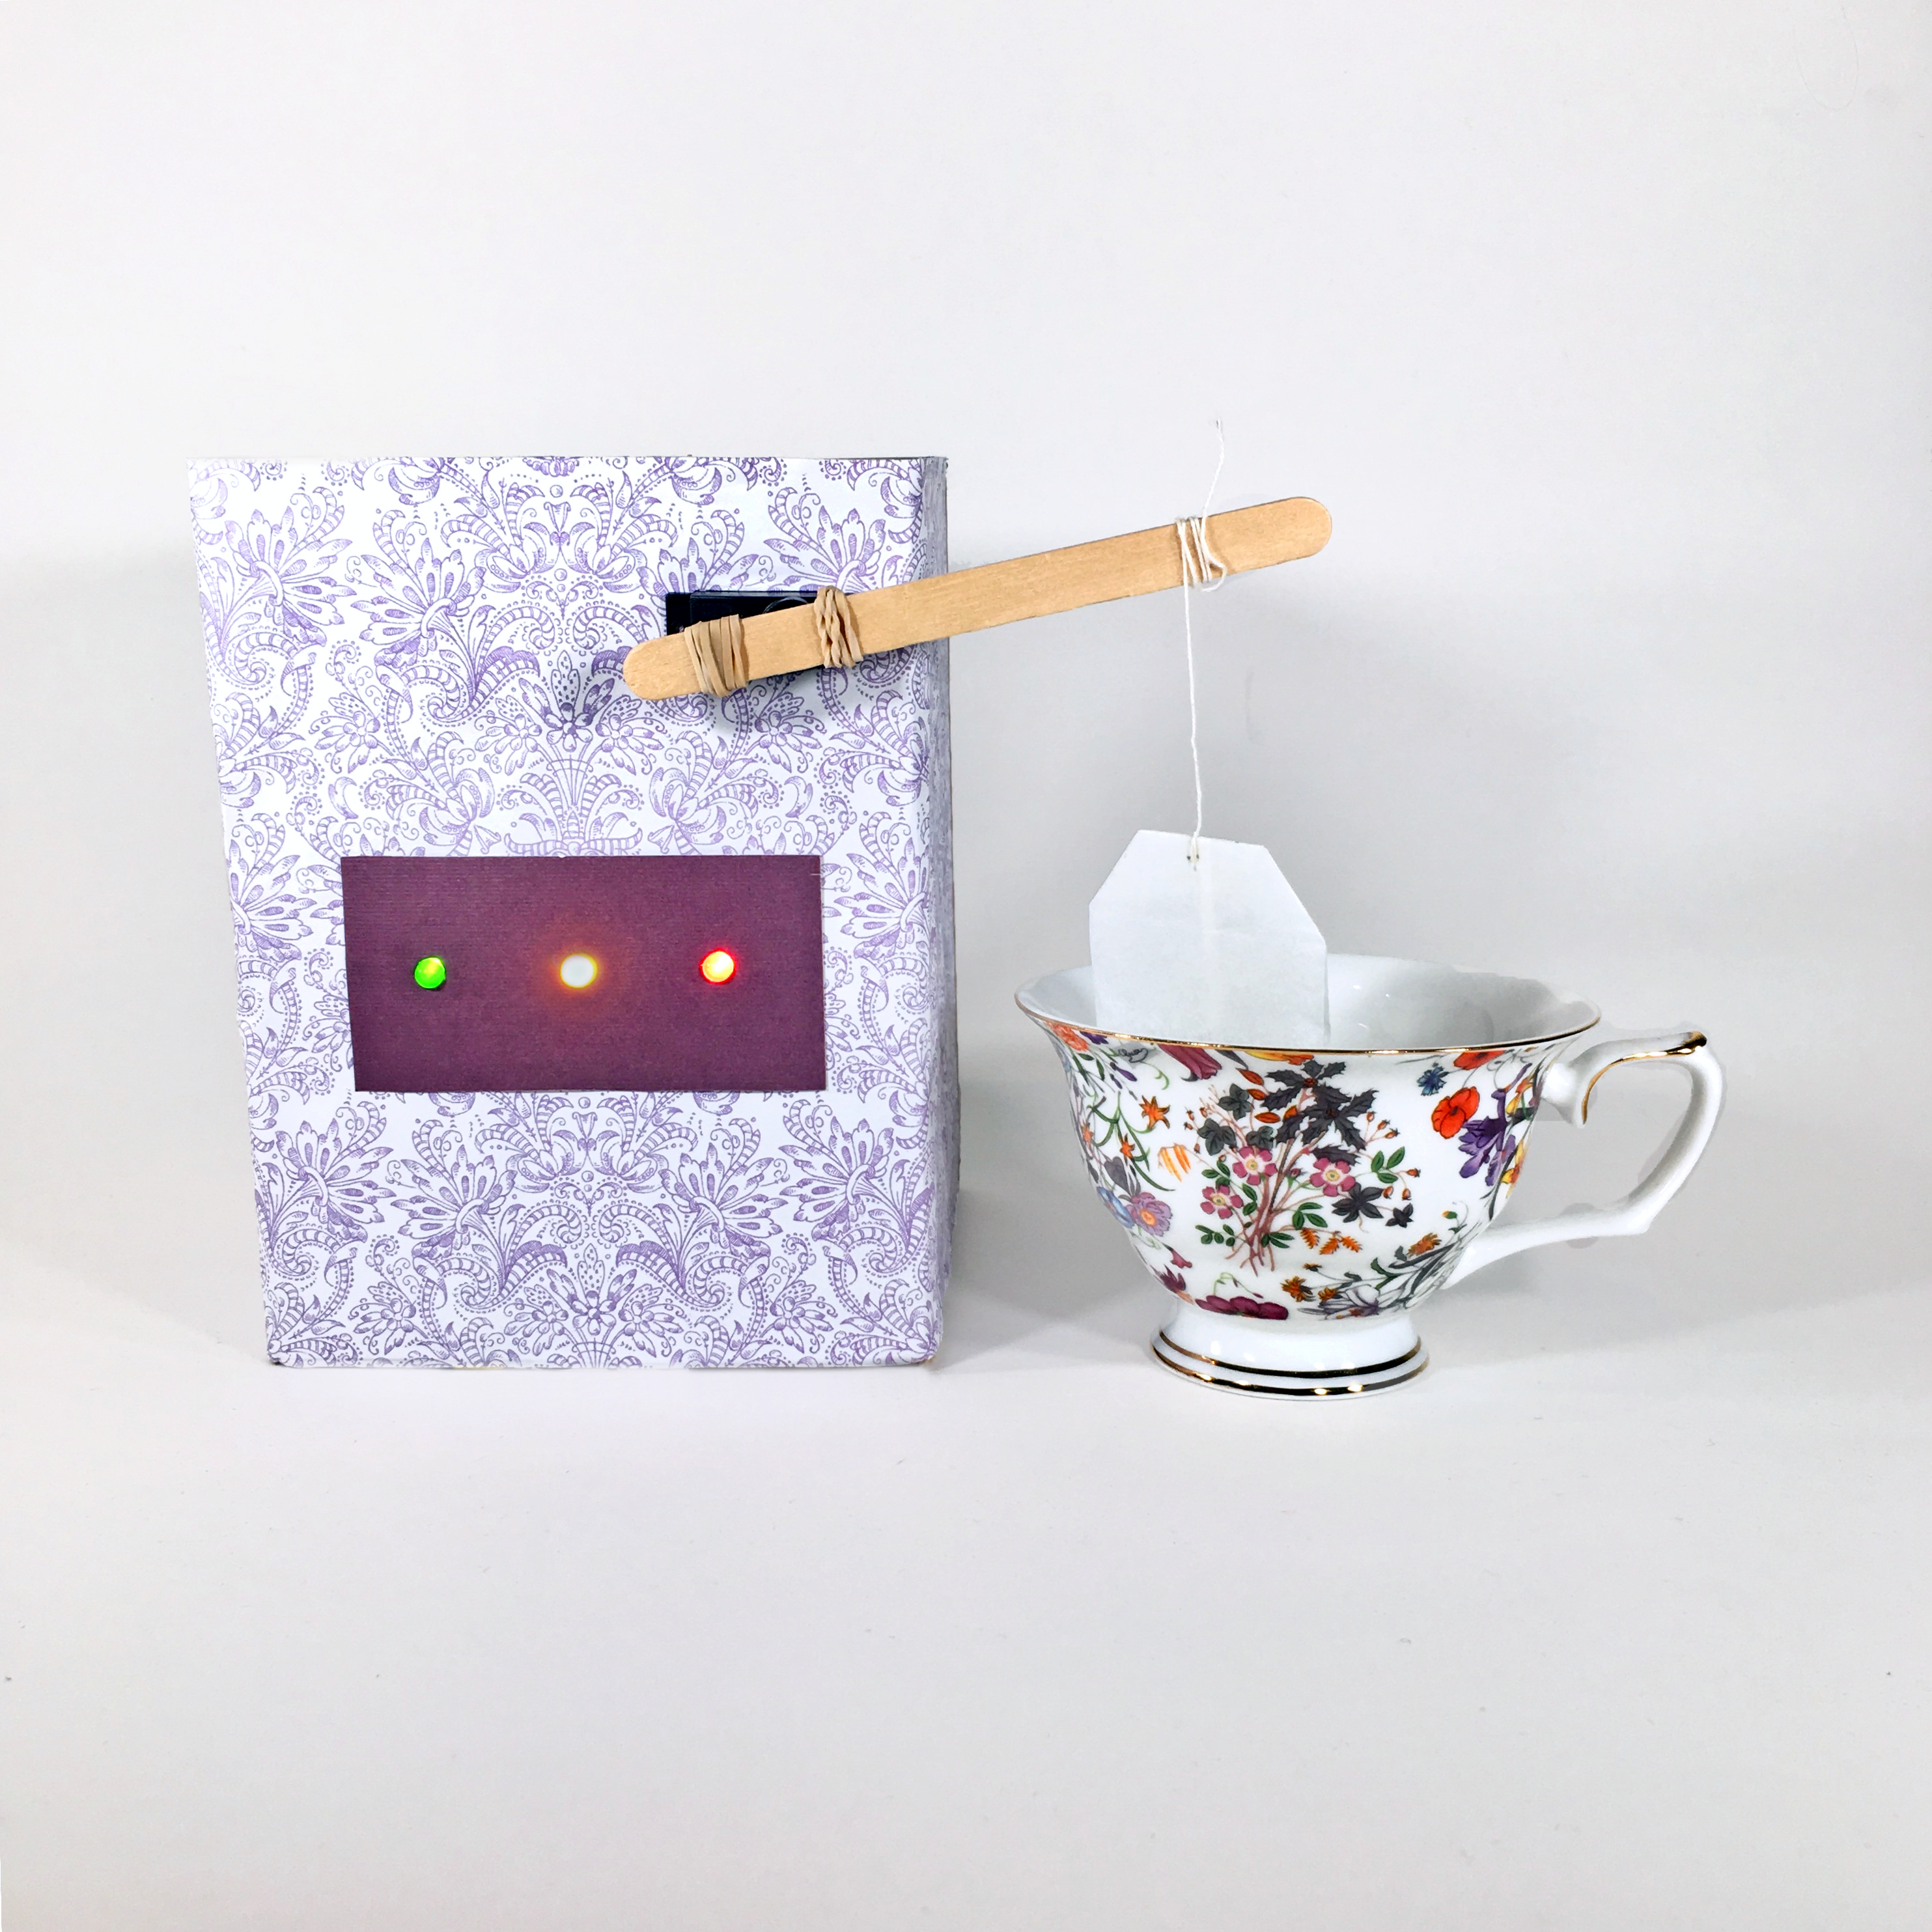


It’s time to make things move! In this project, you’ll craft a motorized robot that brews the perfect cup of tea by gently bobbing a tea bag for a custom amount of time. You’ll also add indicator lights to show how long your tea has been brewing.
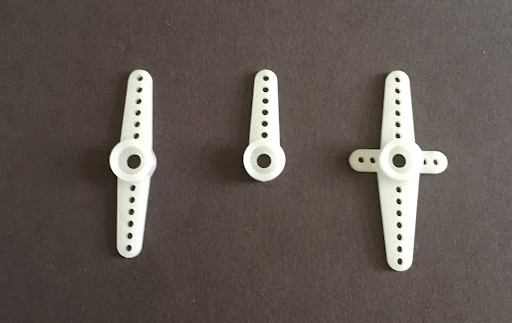
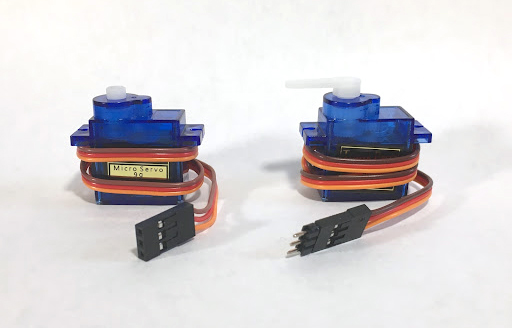
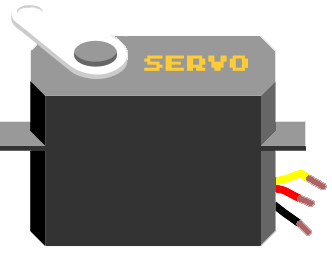
When you think of motors, you might picture the spinning variety in your electric toothbrush or your blender. There are actually many different types of motors suited for all sorts of tasks, and in this project, you’ll use what’s called a servo motor. Servos are useful for moving objects back and forth to precise angles. These motors are often used with snap-on arms that make it easy to attach larger, lightweight components.
The servo knows how to move in response to a specific sequence of electrical pulses. However, you won’t need to write the code to send these pulses; it’s easier to tell the servo how to move by using the servo library. A library is a collection of pre-written code that you can use in your own projects. The servo library is open source, which means it was written by members of the maker community, and is free to use. You can share your code with the world by making your own libraries, too! You will learn how to incorporate a library in the code section. Until then, let’s go over a few important servo details.
In addition to power and ground, your servo has a third wire for data. The data wire transmits information about how the motor should move. Servo wires come in a variety of colors, but red is always 5V power, black or brown is ground, and the remaining color is the data line. Depending on your brand of motor, you may need to insert three header pins or male-male jumper wires into the servo connector.
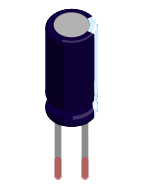
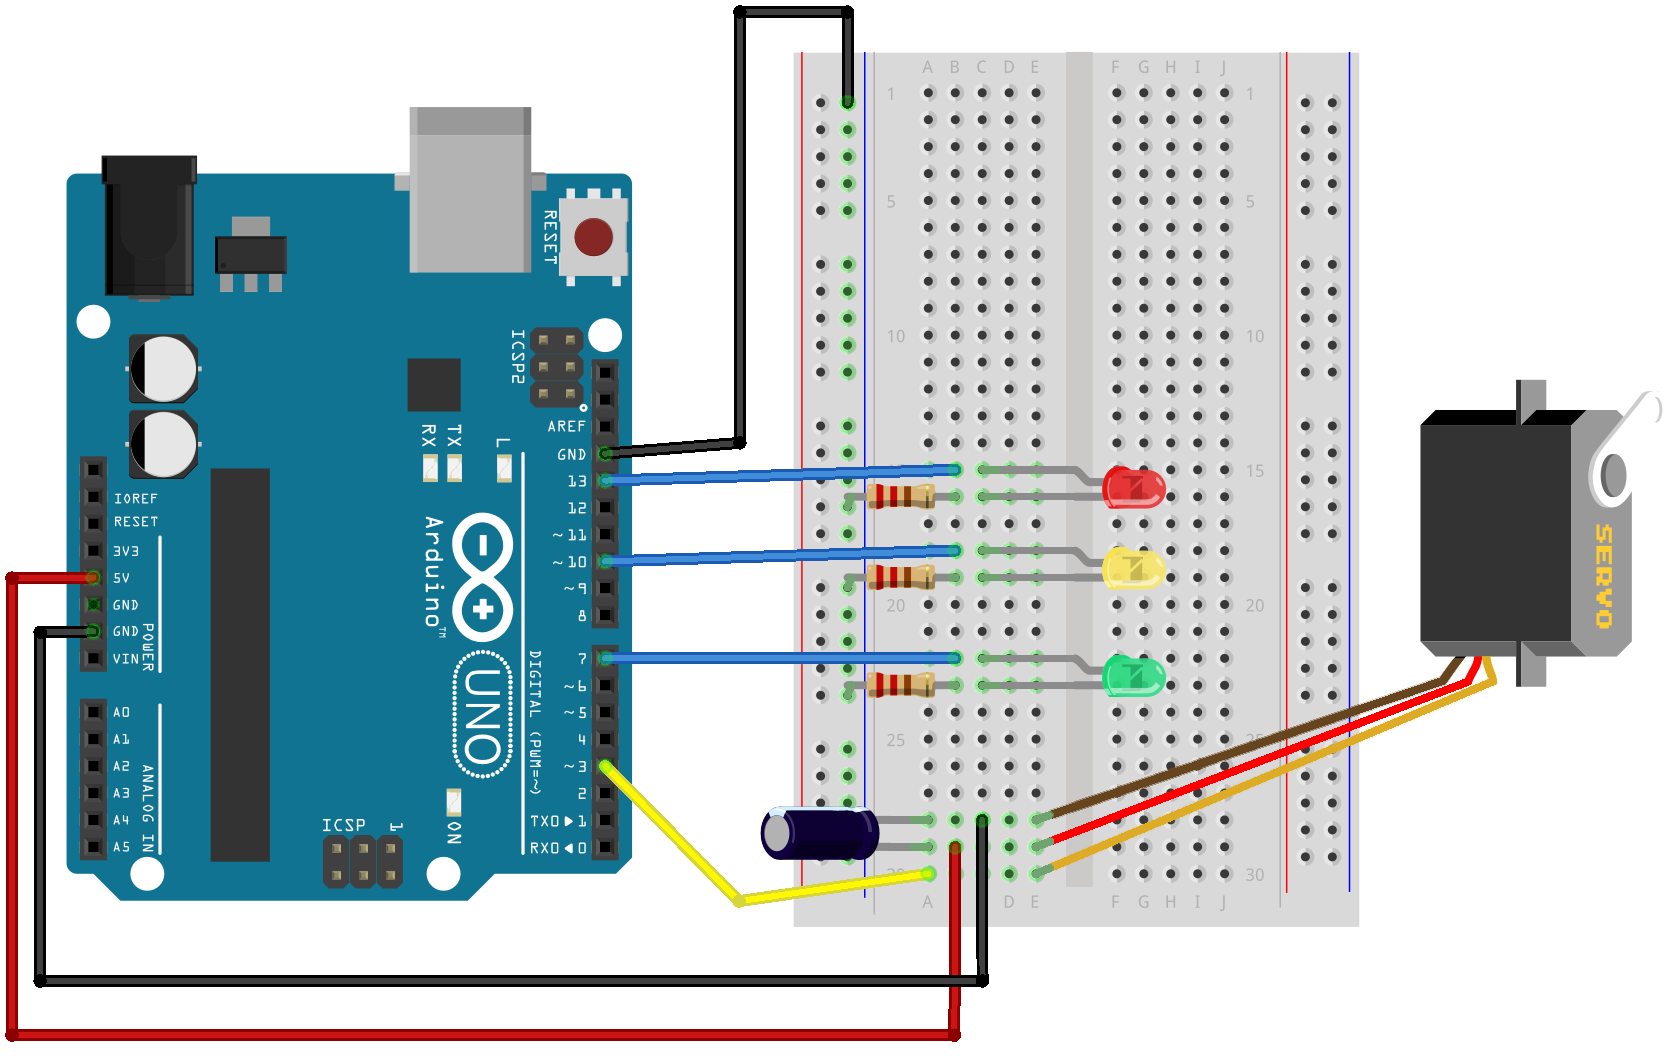
Besides the servo, you’ll notice another new part on the breadboard diagram: a capacitor. Capacitors help regulate erratic currents by gradually charging and discharging. Motors can cause current to spike when they transition from stationary to moving. During the transition, the motor draws more current than while it is in steady motion, because it has to overcome inertia (just as you might find it more taxing to stand up after a long nap than after simply picking something up off the ground)! You can add a 100 μF capacitor to make the current change less abrupt. Your circuit can function without it, but this is a great opportunity to experiment with a new component. Be careful to put the striped (negative) leg in the same row as the black/brown ground connection; capacitors that are inserted backwards can explode.
Now you are ready to take on servo motors! Build the circuit below while disconnected from power.
The code below is longer than in other projects, but don't worry -- you’ll expand your skills to include objects, time, and conditions.
The include statement in the first line of code lets us use the Servo library to control the servo motor. First, we need to give our motor a name and tell the Arduino that it exists. The phrase on line 11, Servo servo, creates a Servo object named servo. It’s convention to name an object after its type, but you could just as easily use Servo steve or any name you’d like. Now, when we want to send our servo some data, we simply refer to it by its new name, like we do on lines 16 and 17.
So far, you have used delay() to keep track of specific time intervals. However, this function temporarily prevents other code from running, so it is not practical for measuring substantial periods of time. Here you will use the millis() function to keep track of how long the current program has been running.
Coding Tip
millis() returns a value of the unsigned long data type, which is represented by a greater number of bits than data types such as int. Having more bits means more space is available to store higher numbers. This extra space is necessary, since the millis() return value would become too high to store as an int after just 32 seconds.
Data Types 101
Unlike the base-10 number system that us humans use, computers use binary (base-two) numbers. In binary, each digit can be one of two values: 0 or 1. The int data type in Arduino can store up to 16 digits, meaning that 216 unique numbers can be represented. When counting in milliseconds, however, all of these 216 numbers pass by very quickly, in only about thirty seconds. The unsigned long data type can store 32 bits, and thus a total of 232 values — that’s greater than four billion, or fifty days’ worth of milliseconds!
Finally, we need to check some conditions in our code. Conditional statements, sometimes called if statements, allow computers to consider a variable’s value before choosing which task to perform. In the tea timer, for example, we only want to illuminate the yellow LED if less than half of the total brewing time remains. Otherwise, that chunk of code is skipped over entirely.
You may want to consider several variables at once when deciding what code to run. For example, if it is a weekend OR a holiday, you’ll want to turn off your morning alarm; only one of the conditions needs to be true. For OR comparisons, separate the variables with two pipe symbols (Shift + \ on the keyboard) as shown:
if (condition1 || condition2) {doSomething();}
Similarly, use two “and” symbols to check if both conditions hold.
if (condition1 && condition2) {doSomething();}
Finally, use two equals signs to compare the value of one variable to another, or to a constant.
if (myVariable == 3) {doSomething();}
Two equals signs are always used for comparisons like the one above, while a single equals sign is used to assign a value to a variable (e.g., x = 1).
That was a lot! You’ve now learned three new concepts: objects, time, and conditional statements. Put them to use by copying the code below into your sketch.
#include <Servo.h>#define redPin 13#define yellowPin 10#define greenPin 7#define servoPin 3#define doneAngle 70#define minAngle 80#define maxAngle 100Servo servo;unsigned long current_time;unsigned long target_time = 60000*3; // 3 minutes, change me!void setup() {servo.attach(servoPin);servo.write(maxAngle);pinMode(redPin, OUTPUT);pinMode(yellowPin, OUTPUT);pinMode(greenPin, OUTPUT);}void loop() {current_time = millis();if (current_time < target_time/2) {digitalWrite(redPin, HIGH);}else if (current_time > target_time/2 && current_time < target_time) {digitalWrite(redPin, LOW);digitalWrite(yellowPin, HIGH);}else {servo.write(doneAngle);digitalWrite(yellowPin, LOW);digitalWrite(greenPin, HIGH);}// Gently bob up and down until finishedif(current_time < target_time) {for (int i = maxAngle; i > minAngle; i--) {servo.write(i);delay(200);}for (int i = minAngle; i < maxAngle; i++) {servo.write(i);delay(200);}}}
After uploading, your motor should sweep back and forth between minAngle and maxAngle. Feel free to play with these values! Then give your motor some reach by using a rubber band to attach a popsicle stick to the servo arm.
Stuck? Check your work against the circuit diagram and code above and video below.
Once the circuit is working as expected, set up your robot's body. A box several inches taller than your teacup works as a solid base. Lightly trace the shape of the servo base onto the cardboard in the top right corner of the box. Carefully cut out this servo hole with a box cutter. The servo base should fit snugly, held in place by cardboard on all four sides. If you’d like the time indicator LEDs to be embedded in the box instead of the breadboard, follow the procedure from the Marquee Light project to create extra wire length with pin-socket jumpers.
To use your new robot, wrap a tea bag string around the end of the popsicle stick and place a teacup full of hot water underneath. When power is applied to the Arduino, the servo will begin to move. The motor will automatically raise the bag out of the water when time is up. When working anywhere near water, take extra care to avoid spills! Water conducts electricity and can cause short circuits that damage your equipment.
Congratulations on creating your first motorized robot!
Make It Yours
Can you add a button to start and stop brewing? How about programming your robot to automatically start working at a certain time of a day?