Project Two: Animated Marquee Lights


In the previous project, you learned how current flows through a circuit to power a single light. You’ll soon animate a whole set of lights one by one in a custom pattern! You will use the Arduino’s digital pins to provide power just as you did in Project One. To create light animations, each LED needs to be turned on and off individually, so this time we will use a unique digital pin to control each light.
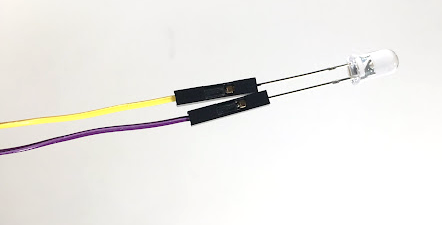
Rather than plugging LEDs directly into the breadboard this time, insert each LED leg into the socket end of a jumper cable as shown below (these cables are also known as a male-female jumper cables or pin-socket jumper cables). These wires provide the extra length necessary to mount the light on the marquee. You may want to secure the LEDs with tape. Remember to keep track of the positive and negative terminals of your LED! The short leg should ultimately be connected to the Arduino's GND pin, and the long leg should connect to power through one of the resistors.
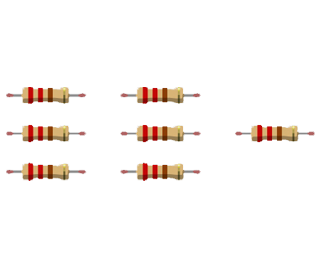
You do not have to use the same number of LEDs that are shown below. In the next section you will customize the code to run on as many lights as you’d like.
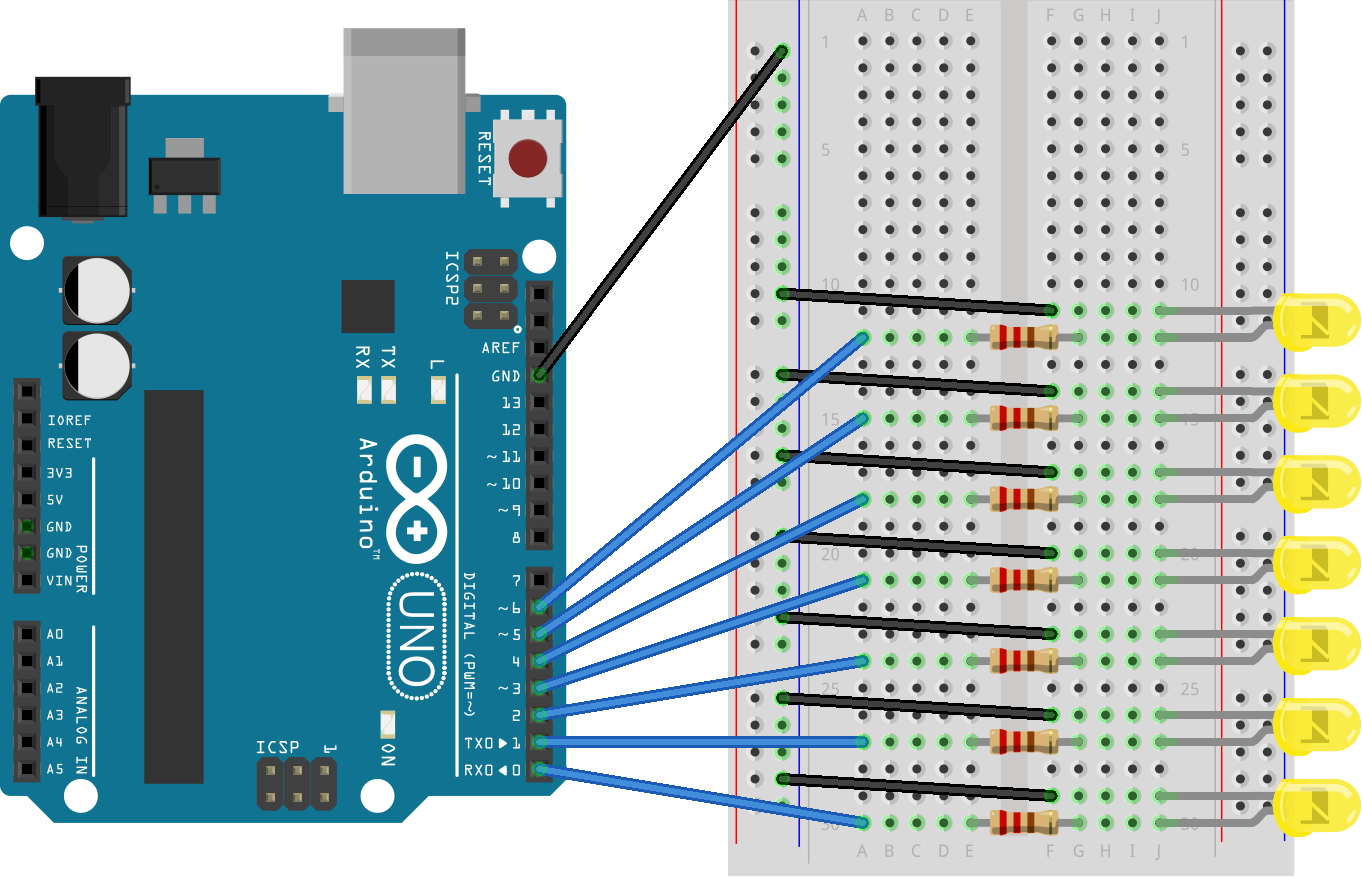
It’s safe practice to finish wiring your circuit completely before applying power. Once your circuit looks like the image above, plug in your USB cord and open the Arduino editor. Before copying code, let’s break down what you’re about to type.
Take a look at the first line of the code below. The number 7 on the first line, #define numLights 7, is called a constant. If you are using, say, 5 LEDs, it would be a pain to change the 7 to a 5 everywhere it appears in the code. Constants allow us to give a nickname to a number that we use many times. When we want to change the constant’s value, we only have to change the definition at the top of the file.
Now look at line 4, which says for (int i = 0; i < numLights; i++). These are called for loops. The code inside the for loop turns a single LED on and off. We could copy and paste this code for every single LED we control, but that would be a lot of extra work! Instead, the for loop lets us do the same work over and over, while only changing one variable: i, which represents the specific light we're turning on.
Coding Tip
Use comments to make notes that the computer will ignore. Create a comment by adding two forward slashes in front of your text, just like on line 1 of the marquee code below.
// When in doubt, comment it out!
Now that you’ve learned some new coding basics, copy the following code into your sketch.
#define numLights 7 // Replace 7 with your number of LEDs!void setup() {for (int i = 0; i < numLights; i++) {pinMode(i, OUTPUT);}}void loop() {for (int i = 0; i < numLights; i++) {digitalWrite(i, HIGH);delay(500);digitalWrite(i, LOW);}}
Upload your code just like you did in Project One. If nothing happens, be sure to check for any red error messages at the bottom of the screen.
If you're stuck, take a look at the video below to get back on track.
Once you’ve verified that the circuit is working properly, you can get creative with displaying your lights. For the classic marquee look, sketch your letter on cardboard. Make a mark every few centimeters where you’d like to place the lights. Then, use scissors or a pen tip to punch a small hole that is the same size as the LED. Gently poke the LEDs through the holes from back to front, and secure the LEDs with tape. Be sure that the LEDs are inserted in pin order for the animation to appear correctly.
Make It Yours
You can use ping-pong balls or plastic marquee bulbs sold at craft stores to diffuse the LEDs and create a more professional looking project.