Project Nine: Color Changing Skirt
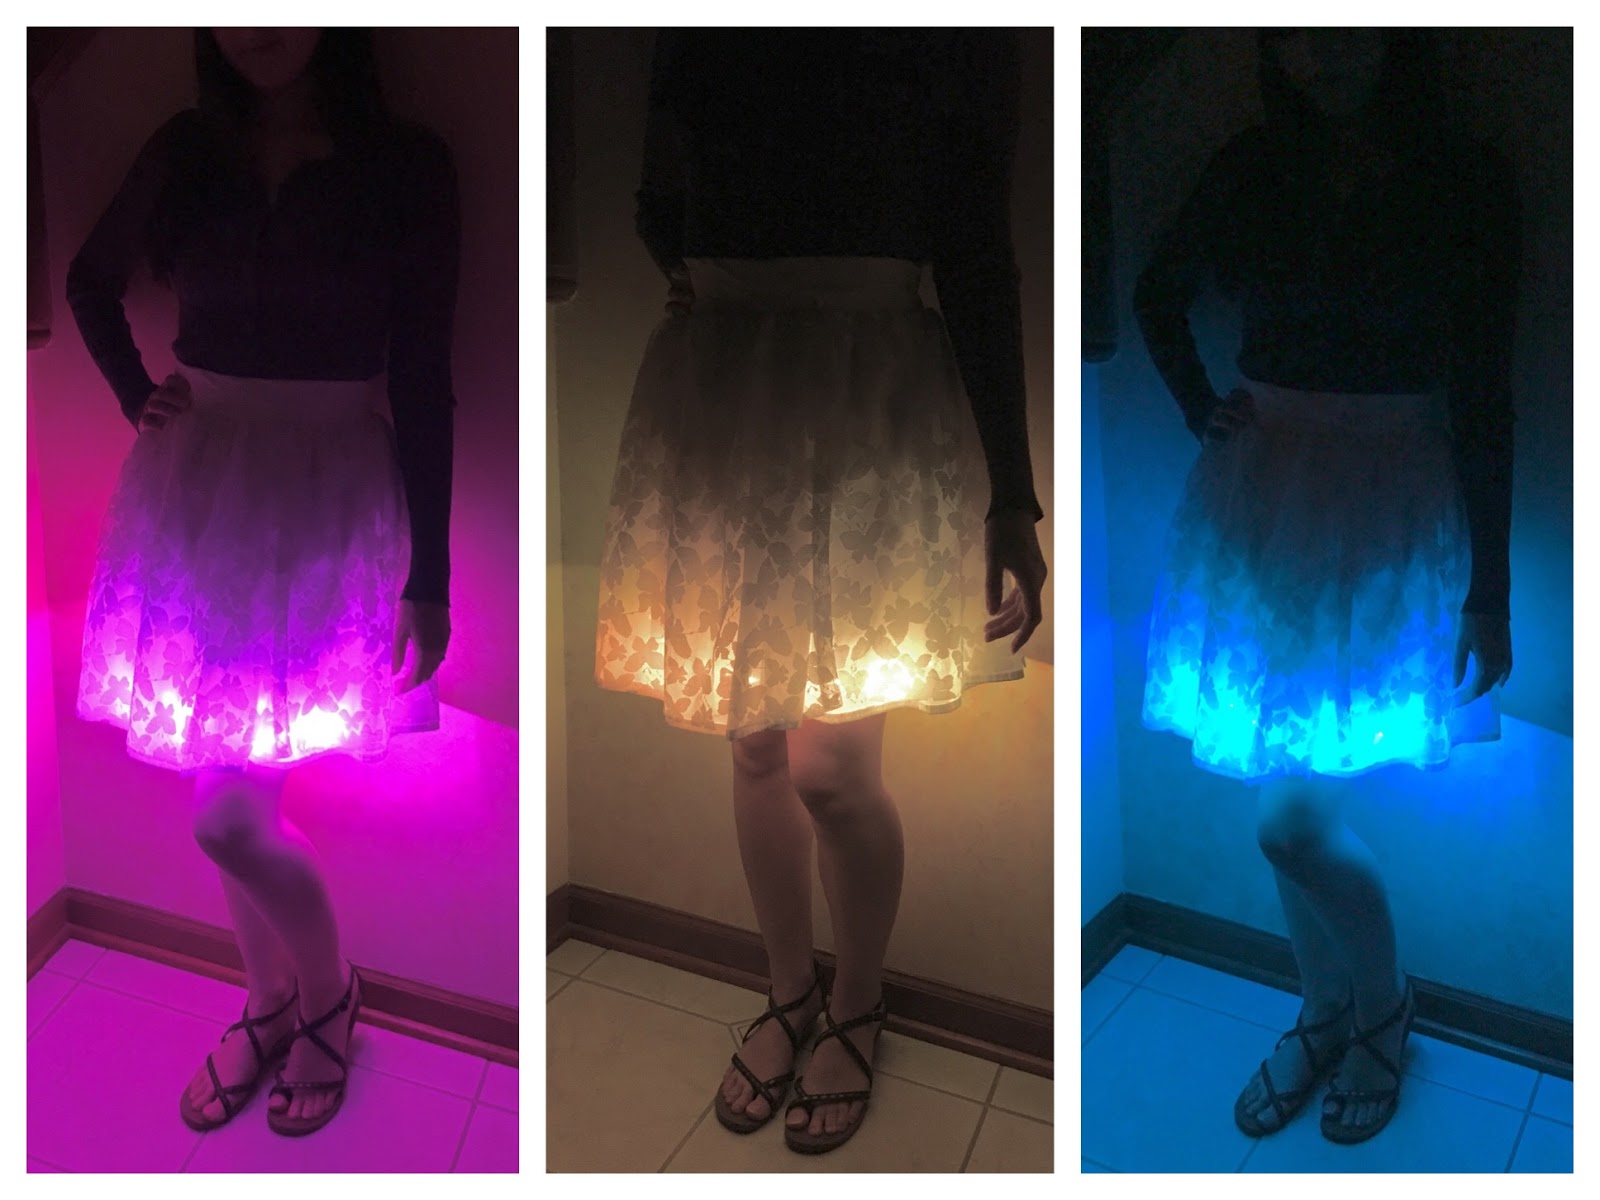
Futuristic fashion is within your reach! You’ll take your e-textile skills to the next level in this project by creating a glowing piece of clothing that shifts colors.
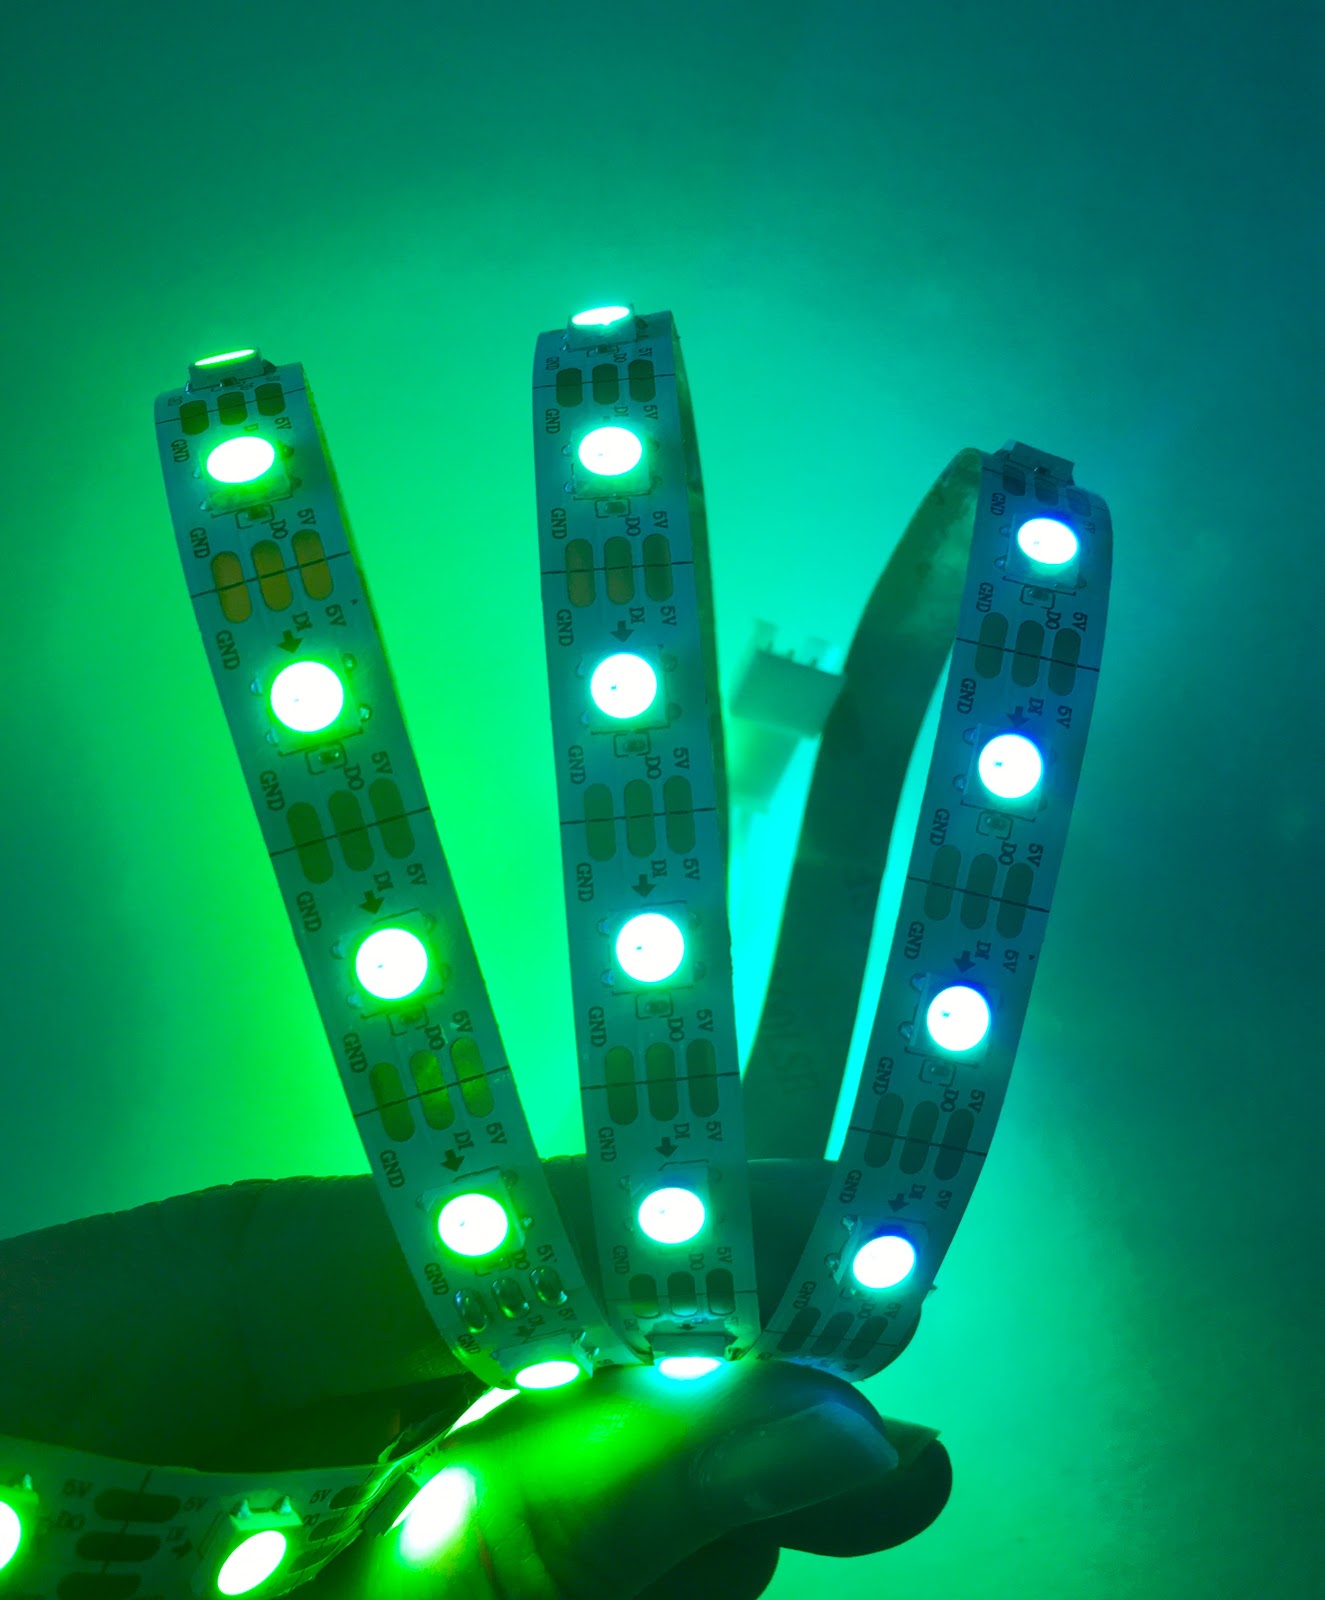
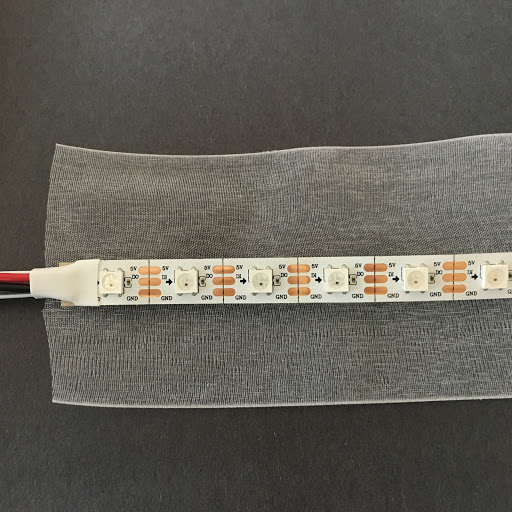
Until now, you’ve sewn down individual LEDs, and in theory you could sew hundreds onto a skirt -- but that would be heavy, complicated, and time consuming. Instead, addressable LED strips like the one in the photo below let us individually control an entire ribbon of LEDs with a single microcontroller pin. We’ll attach one of these strips to a piece of clothing that will light up the night.
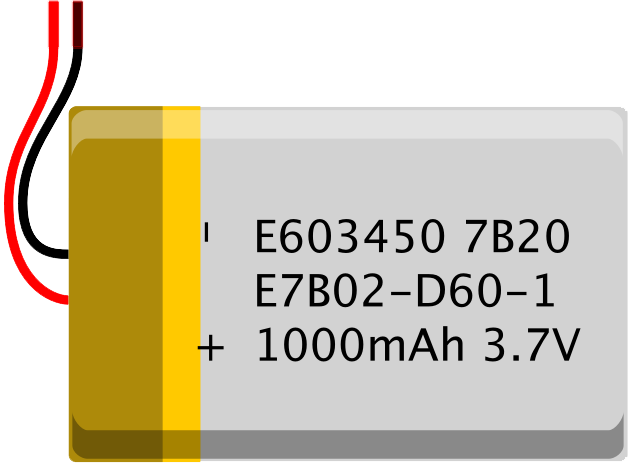
You can get creative with any piece of clothing that doesn’t have sharp angles. You’ll need to accommodate a battery pack and a Gemma, so you should consider clothing where you can add a secret pocket. The hem of a skirt is a good choice, as it’s easy to hide things between folds and layers.
This project requires soldering. While you may have been able to get away with twisting wires around the Gemma in previous projects, electrical connections must be stronger for clothes that move with the body. Finally, you’ll need ribbon that’s thicker than your LED strip to help you sew everything down. Once you’ve gathered all your materials, take a closer look at your LED strip.
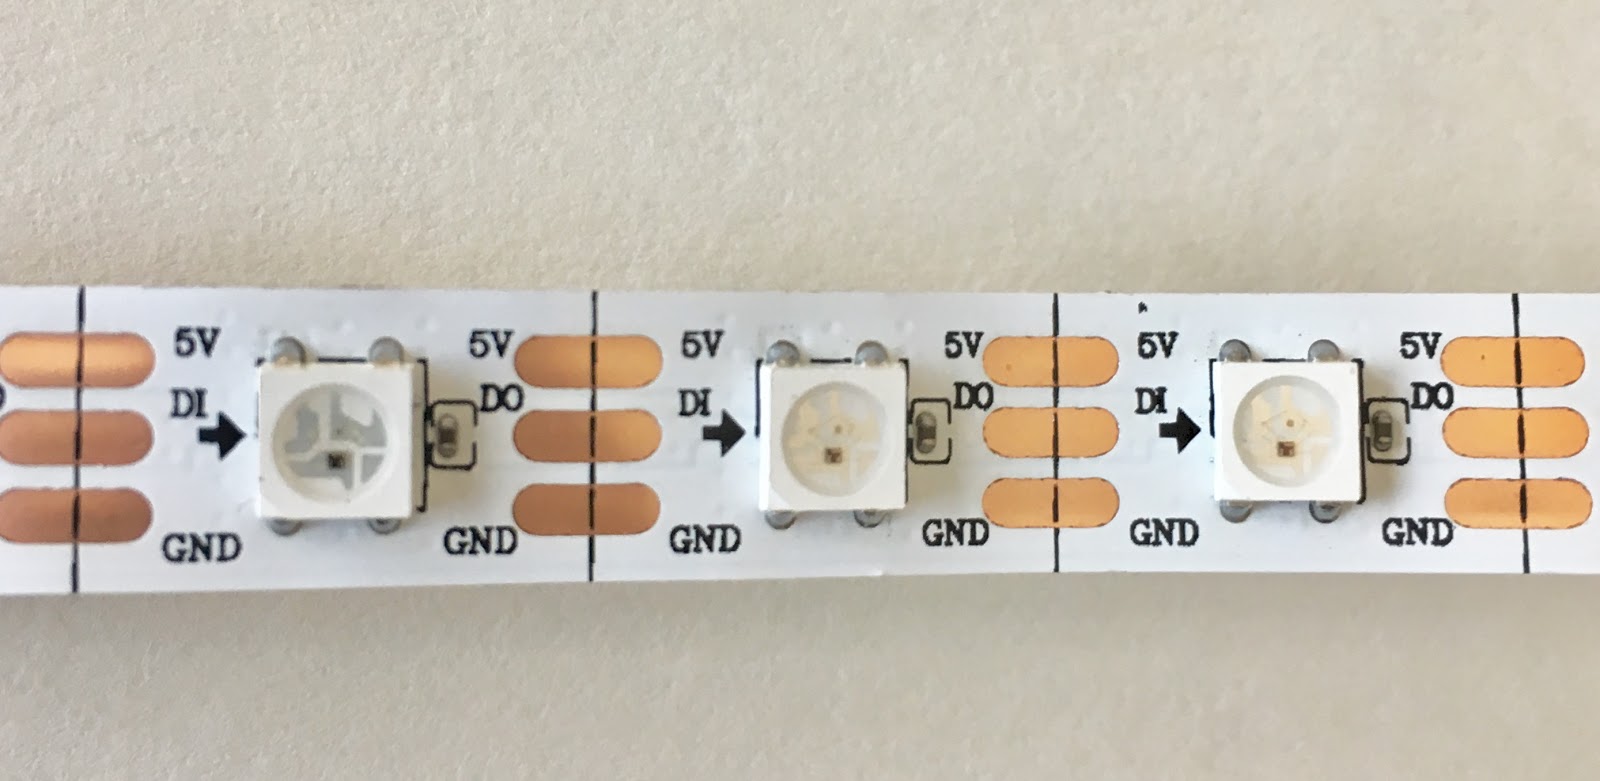
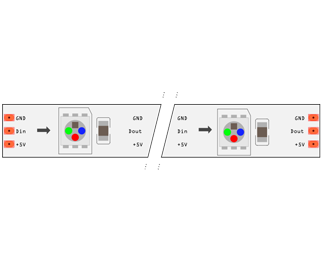
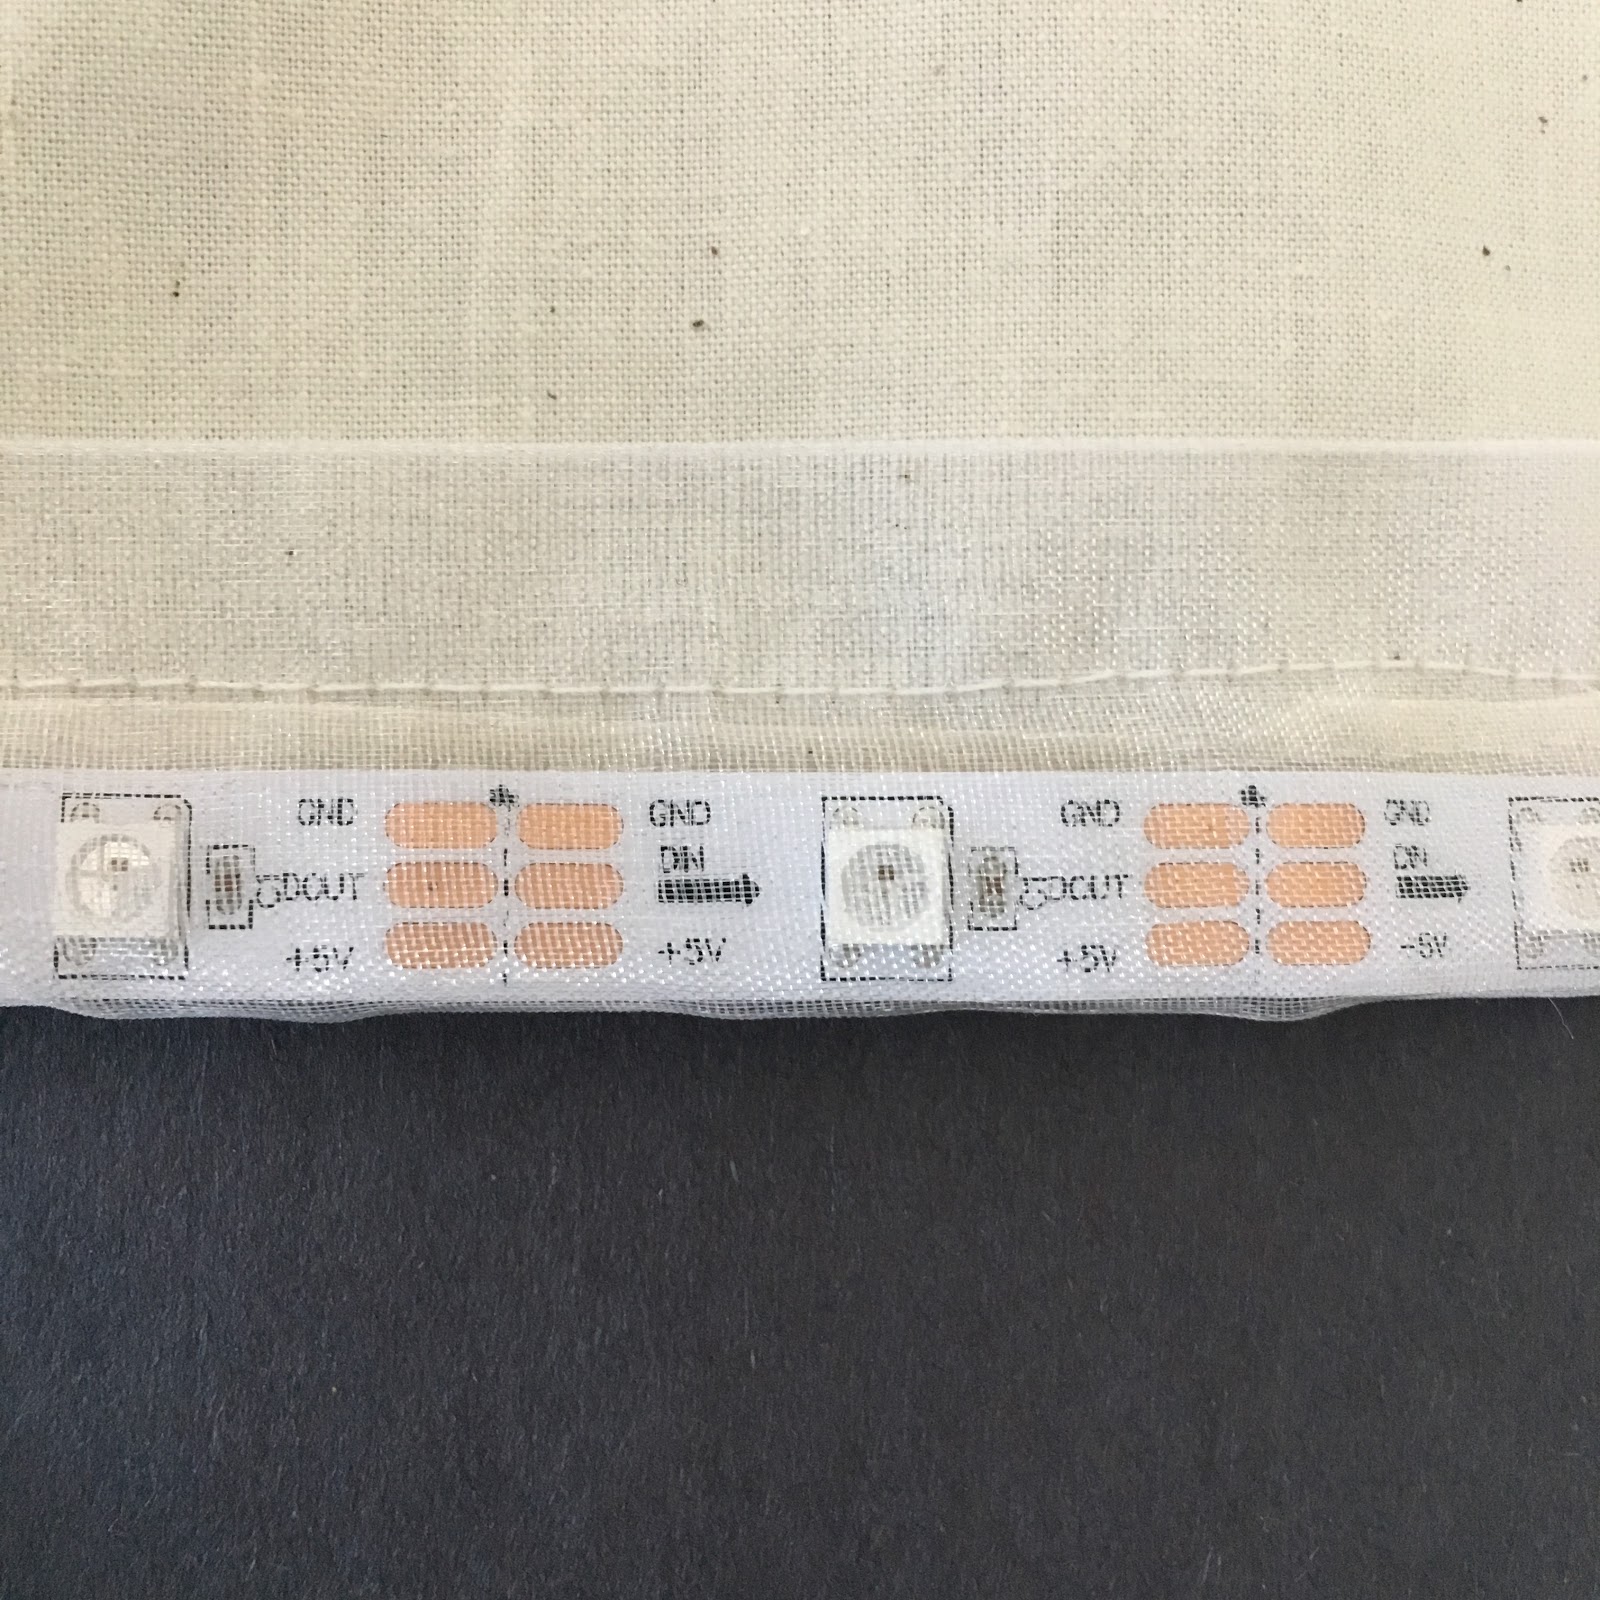
Each box between vertical black lines contains an individually controllable LED. You can safely cut the strip on these black lines, and the metallic pads of separate pieces can be soldered together to create longer strips.
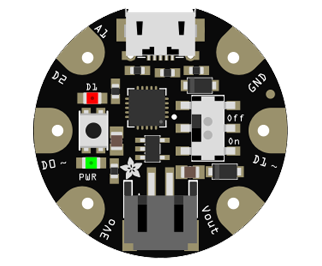
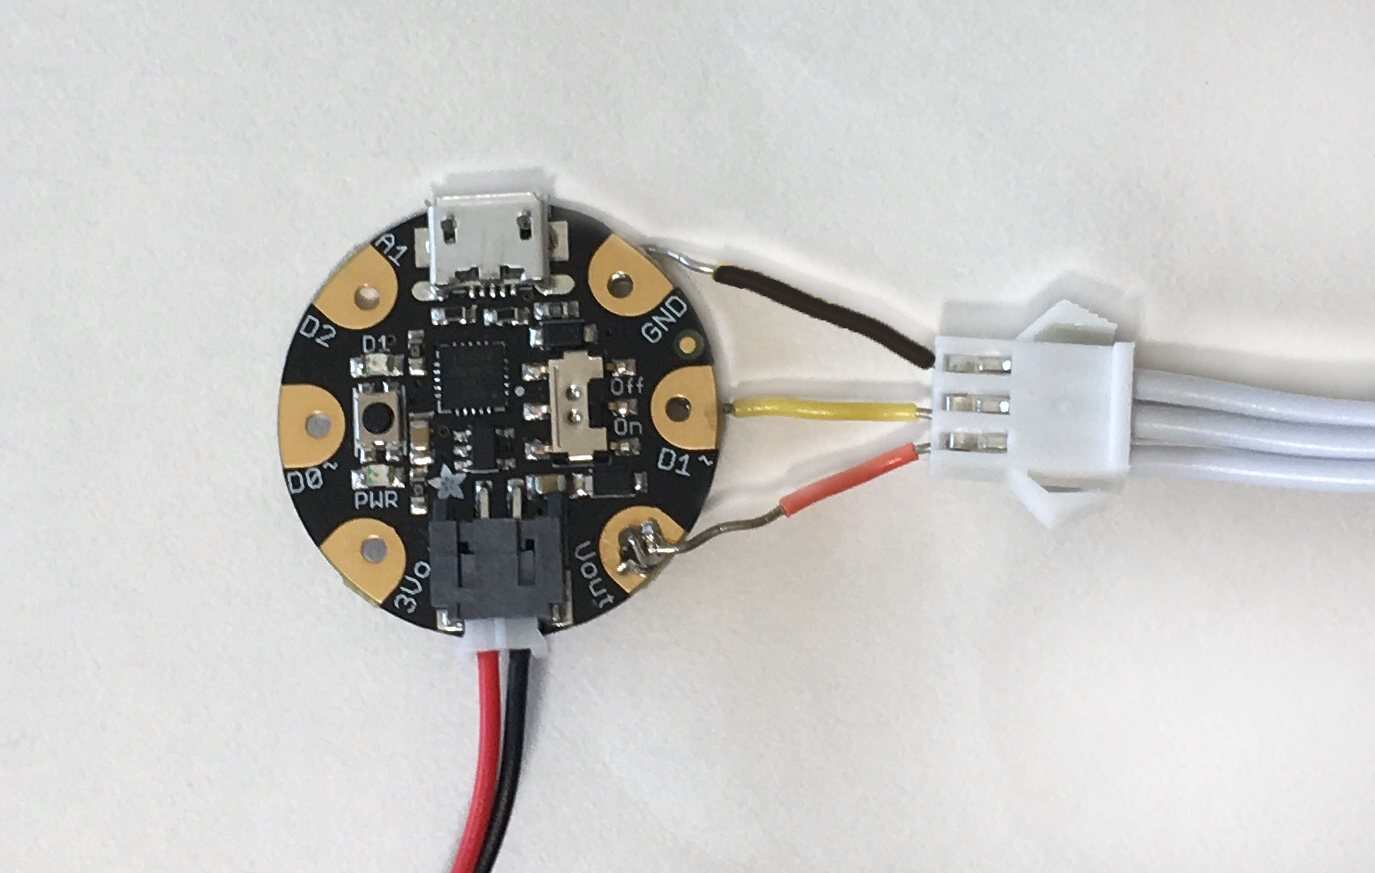
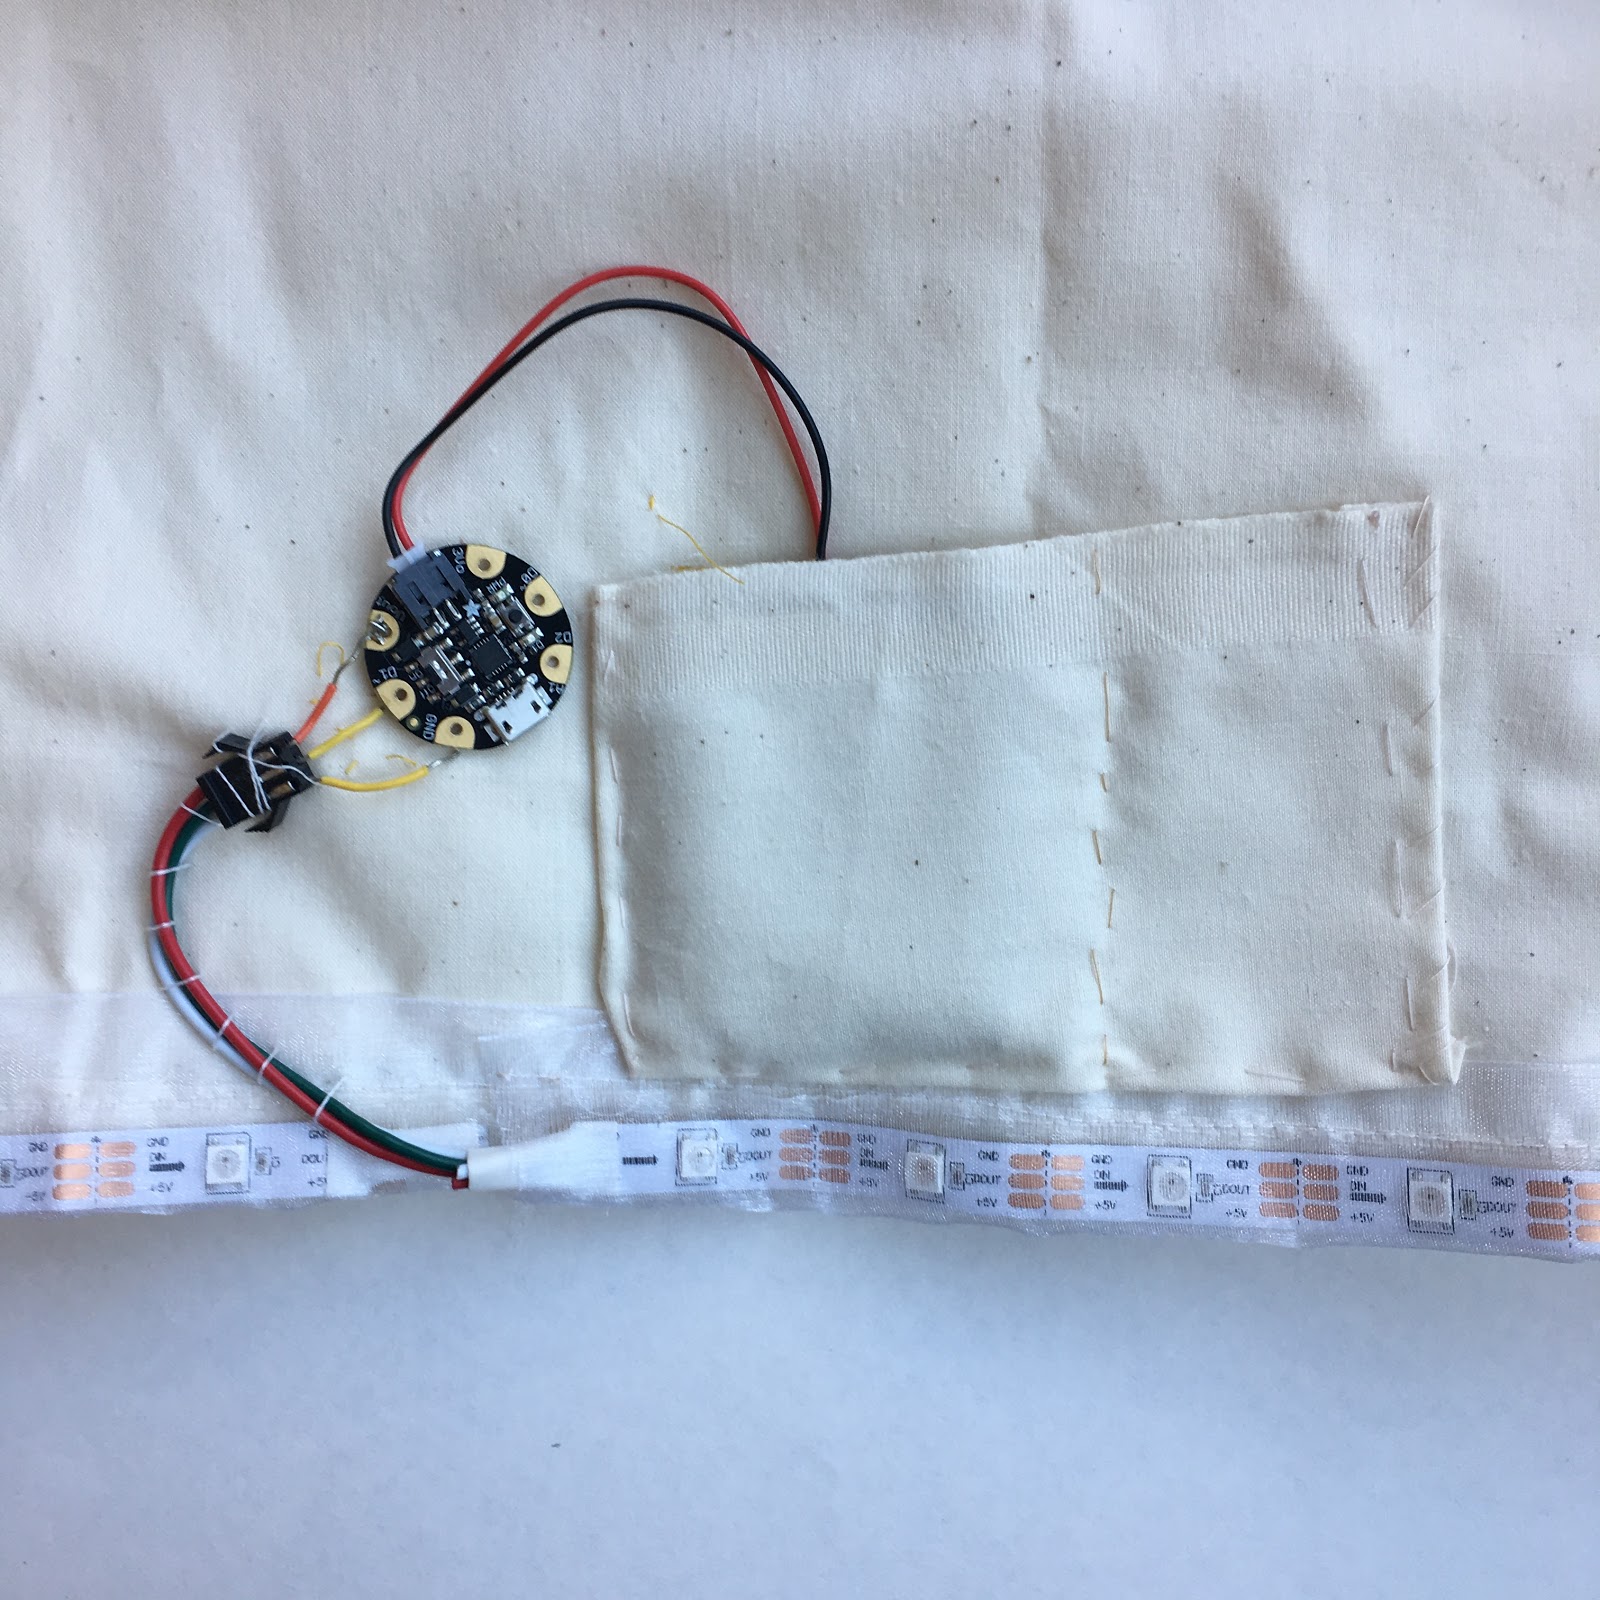
Now, let’s give your microcontroller some wire connections to plug into the LED strip. Your Gemma will sit right next to the strip, so your wires don’t need to be very long. Cut three pieces of 1-2” wire and strip a small amount of insulation from each side to expose the wire. Solder one wire to the Gemma’s GND, one wire to D1, and one wire to Vout. Plug the other end of each wire into the LED strip’s connector. If the connector does not have color coded wires, look at the printed letters on the strip. The middle wire is often data (connected to D1). The wire in the same row as the printed 5V connects to Vout, and the GND wire connects to GND.
We will use a pre-written library to help control our strip, just like the servo library from previous projects. The instructions below are from the Adafruit website; follow along here or on the web. Open your Arduino software.
From the Sketch menu, select Include Library > Manage Libraries. In the text input box type in "NeoPixel". Look for "Adafruit NeoPixel by Adafruit" and select the latest version by clicking on the popup menu next to the Install button. Then click on the Install button. After it's installed, you can click the "close" button.
Now from the File menu, select Sketchbook > Libraries > Adafruit_NeoPixel > strandtest. If all is working as expected, your strip will flash and change colors. If not, check that your microcontroller is on and that all three connections are stable.
The code below is an edited version of Adafruit’s, and you can find the full version with other LED effects here. The version below cycles through the colors of the rainbow. If you do not have exactly 30 LEDs on your strip, be sure to change the parameter on line 4. You’re ready to upload the code and start glowing!
#include <Adafruit_NeoPixel.h>#define PIN 1//Change the first parameter to the number of LEDs in your strip!Adafruit_NeoPixel strip = Adafruit_NeoPixel(30, PIN, NEO_GRB + NEO_KHZ800);void setup() {strip.begin();strip.show();}void loop() {rainbow(40); //Change this parameter to change the color cycle speed}void rainbow(uint8_t wait) {uint16_t i, j;for(j=0; j<256; j++) {for(i=0; i<strip.numPixels(); i++) {strip.setPixelColor(i, Wheel((i+j) & 255));}strip.show();delay(wait);}}uint32_t Wheel(byte WheelPos) {WheelPos = 255 - WheelPos;if(WheelPos < 85) {return strip.Color(255 - WheelPos * 3, 0, WheelPos * 3);}if(WheelPos < 170) {WheelPos -= 85;return strip.Color(0, WheelPos * 3, 255 - WheelPos * 3);}WheelPos -= 170;return strip.Color(WheelPos * 3, 255 - WheelPos * 3, 0);}
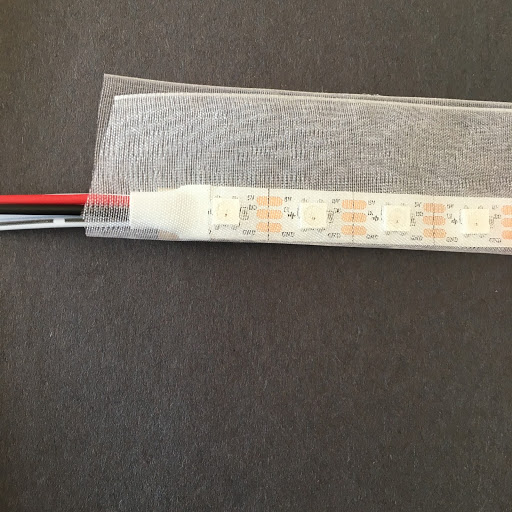
Once you’ve played with the code to your satisfaction, you’ll need an LED strip casing that can be sewn to fabric. A wide translucent ribbon works well, and softens the light at the same time. Consider where you’d like the Gemma and battery pack to sit. The side of the skirt is a good choice, as it lets you easily access the on/off switch and prevents you from sitting on the electronics.
Place the start of your ribbon on the side of your skirt near the hem. Place the LED strip on top, then fold the ribbon over the front of the LED strip. You now have a casing with an opening at the top. Sew along this opening to attach the casing to the skirt while closing the opening. You’re almost done!
Now all you need is a place to hold the Gemma and battery. The Gemma can be sewn directly to the fabric. To make a battery pocket, cut a rectangle about two centimeters wider than the battery on each side. Fold the sides underneath to create a clean edge, and sew down next to the Gemma. Plug your battery into the Gemma, place it in the pocket, switch the Gemma on, and get ready to twirl!
To keep your skirt in peak condition, take care not to bend the LED strip at a sharp angle, and avoid liquid spills. If you’d like to wash your skirt, consider adding a velcro back to the ribbon LED casing so that it can easily be removed.
Want to make your clothing interactive? Try controlling the lights in response to a temperature sensor, photoresistor, or pushbutton.