Project Eight: Twinkling Constellation Embroidery

Now that you know how to light up fabric with LEDs and batteries, we’ll take your textiles to the next level with code. In this project you’ll make starry wall art that twinkles like the night sky.
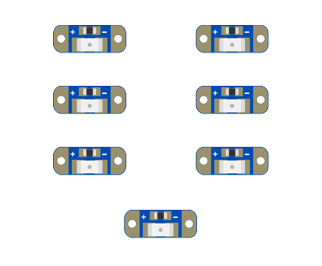
While the traditional LEDs from previous projects will work just fine here, sometimes your project calls for a flatter source of light. Sequins are a brand name version of tiny, sewable LEDs that lay flat against your surface. They work just like traditional LEDs, with a positive and negative side.
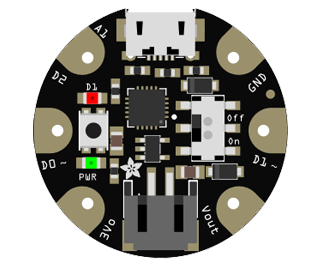
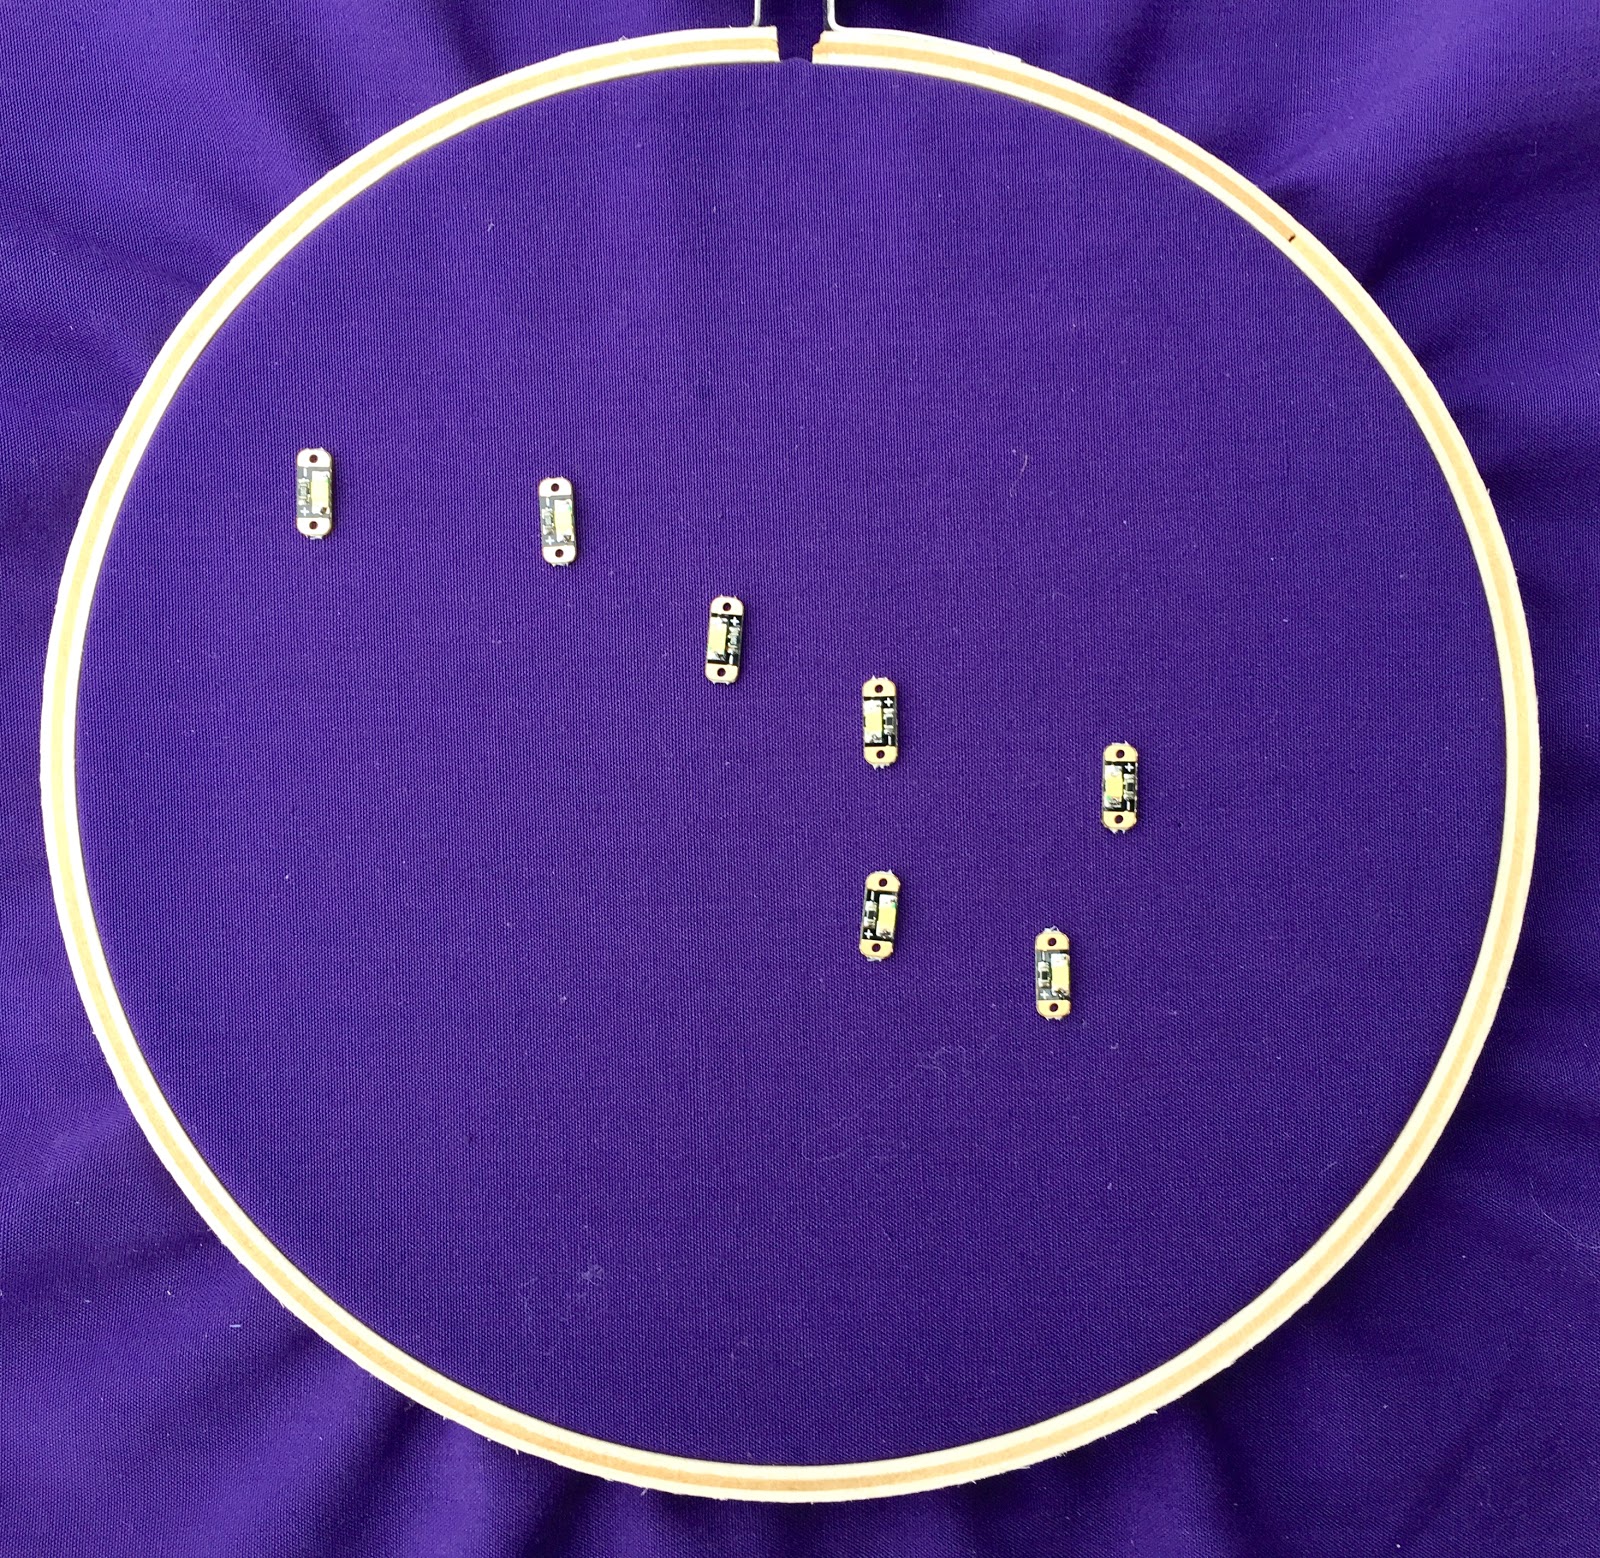
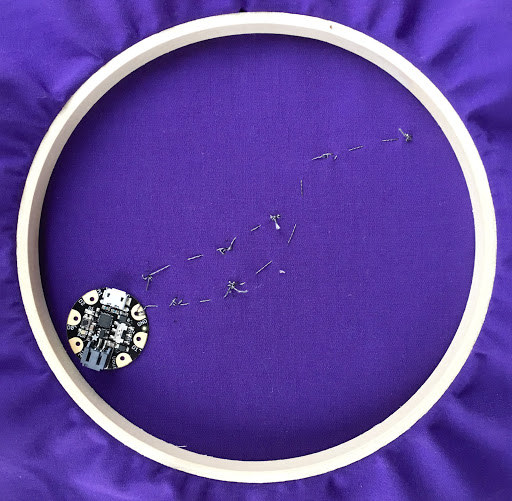
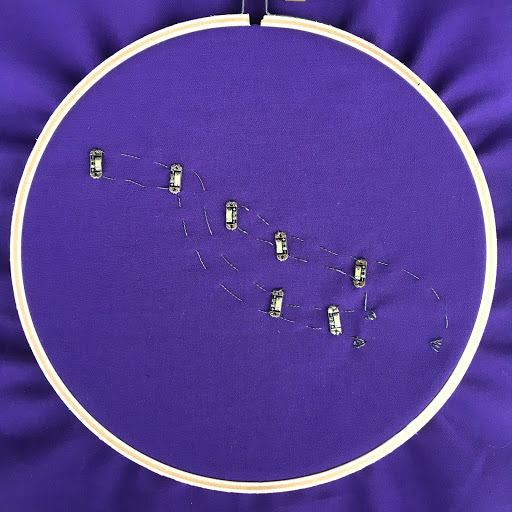
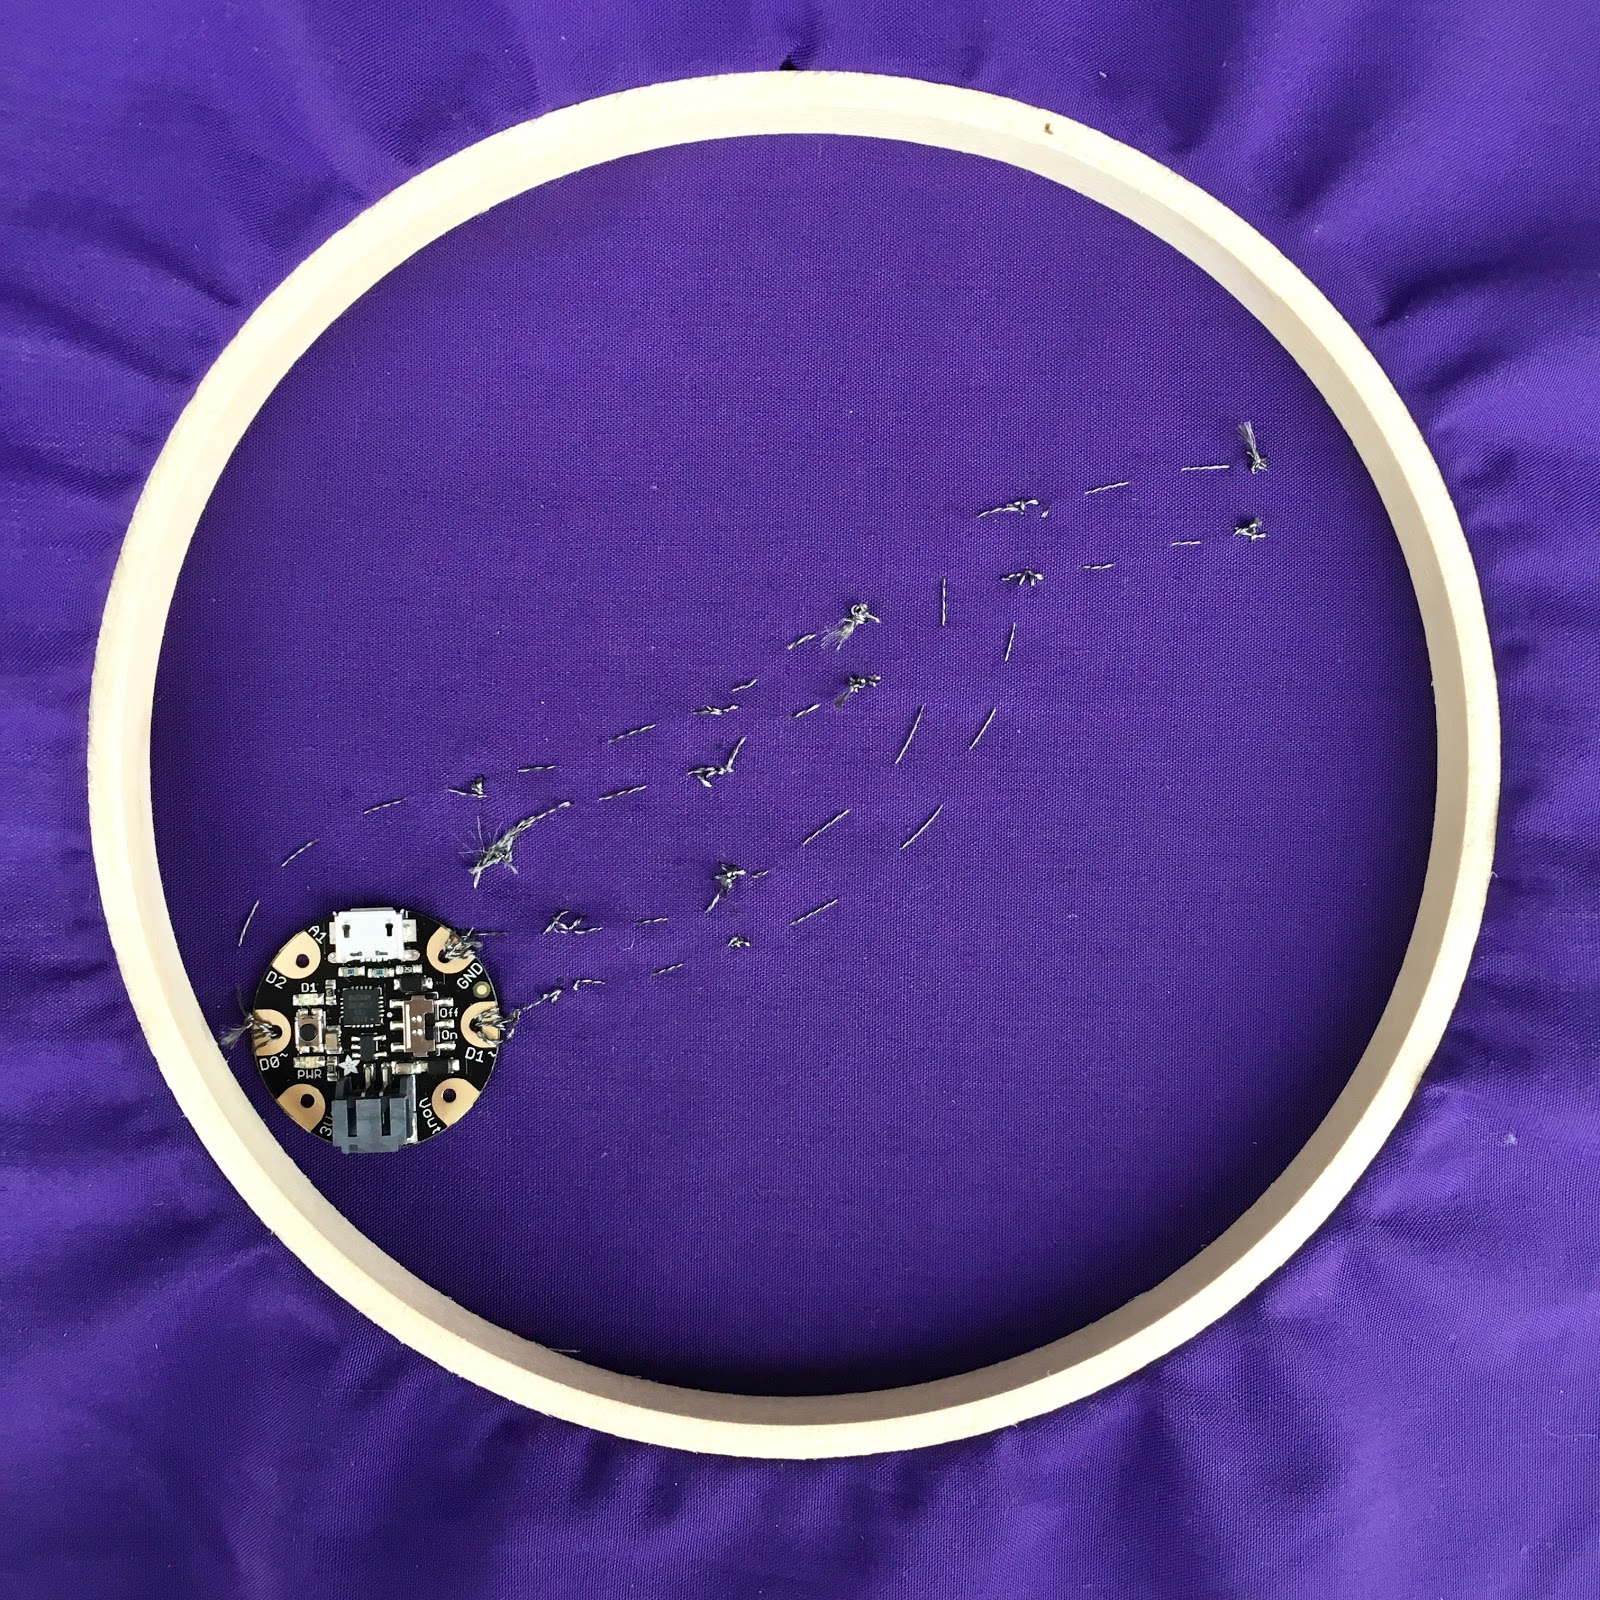
Let’s start planning out our LED constellation. The Gemma will sit on the opposite side of the fabric as the LEDs so that your final design looks cleaner. Place your first layer of fabric inside the embroidery hoop. Use a pen to lightly mark the placement of your LEDs on the fabric. Make sure you leave plenty of room on the sides of the hoop to accommodate the Gemma. Your layout should look something like the Big Dipper in the photo below.
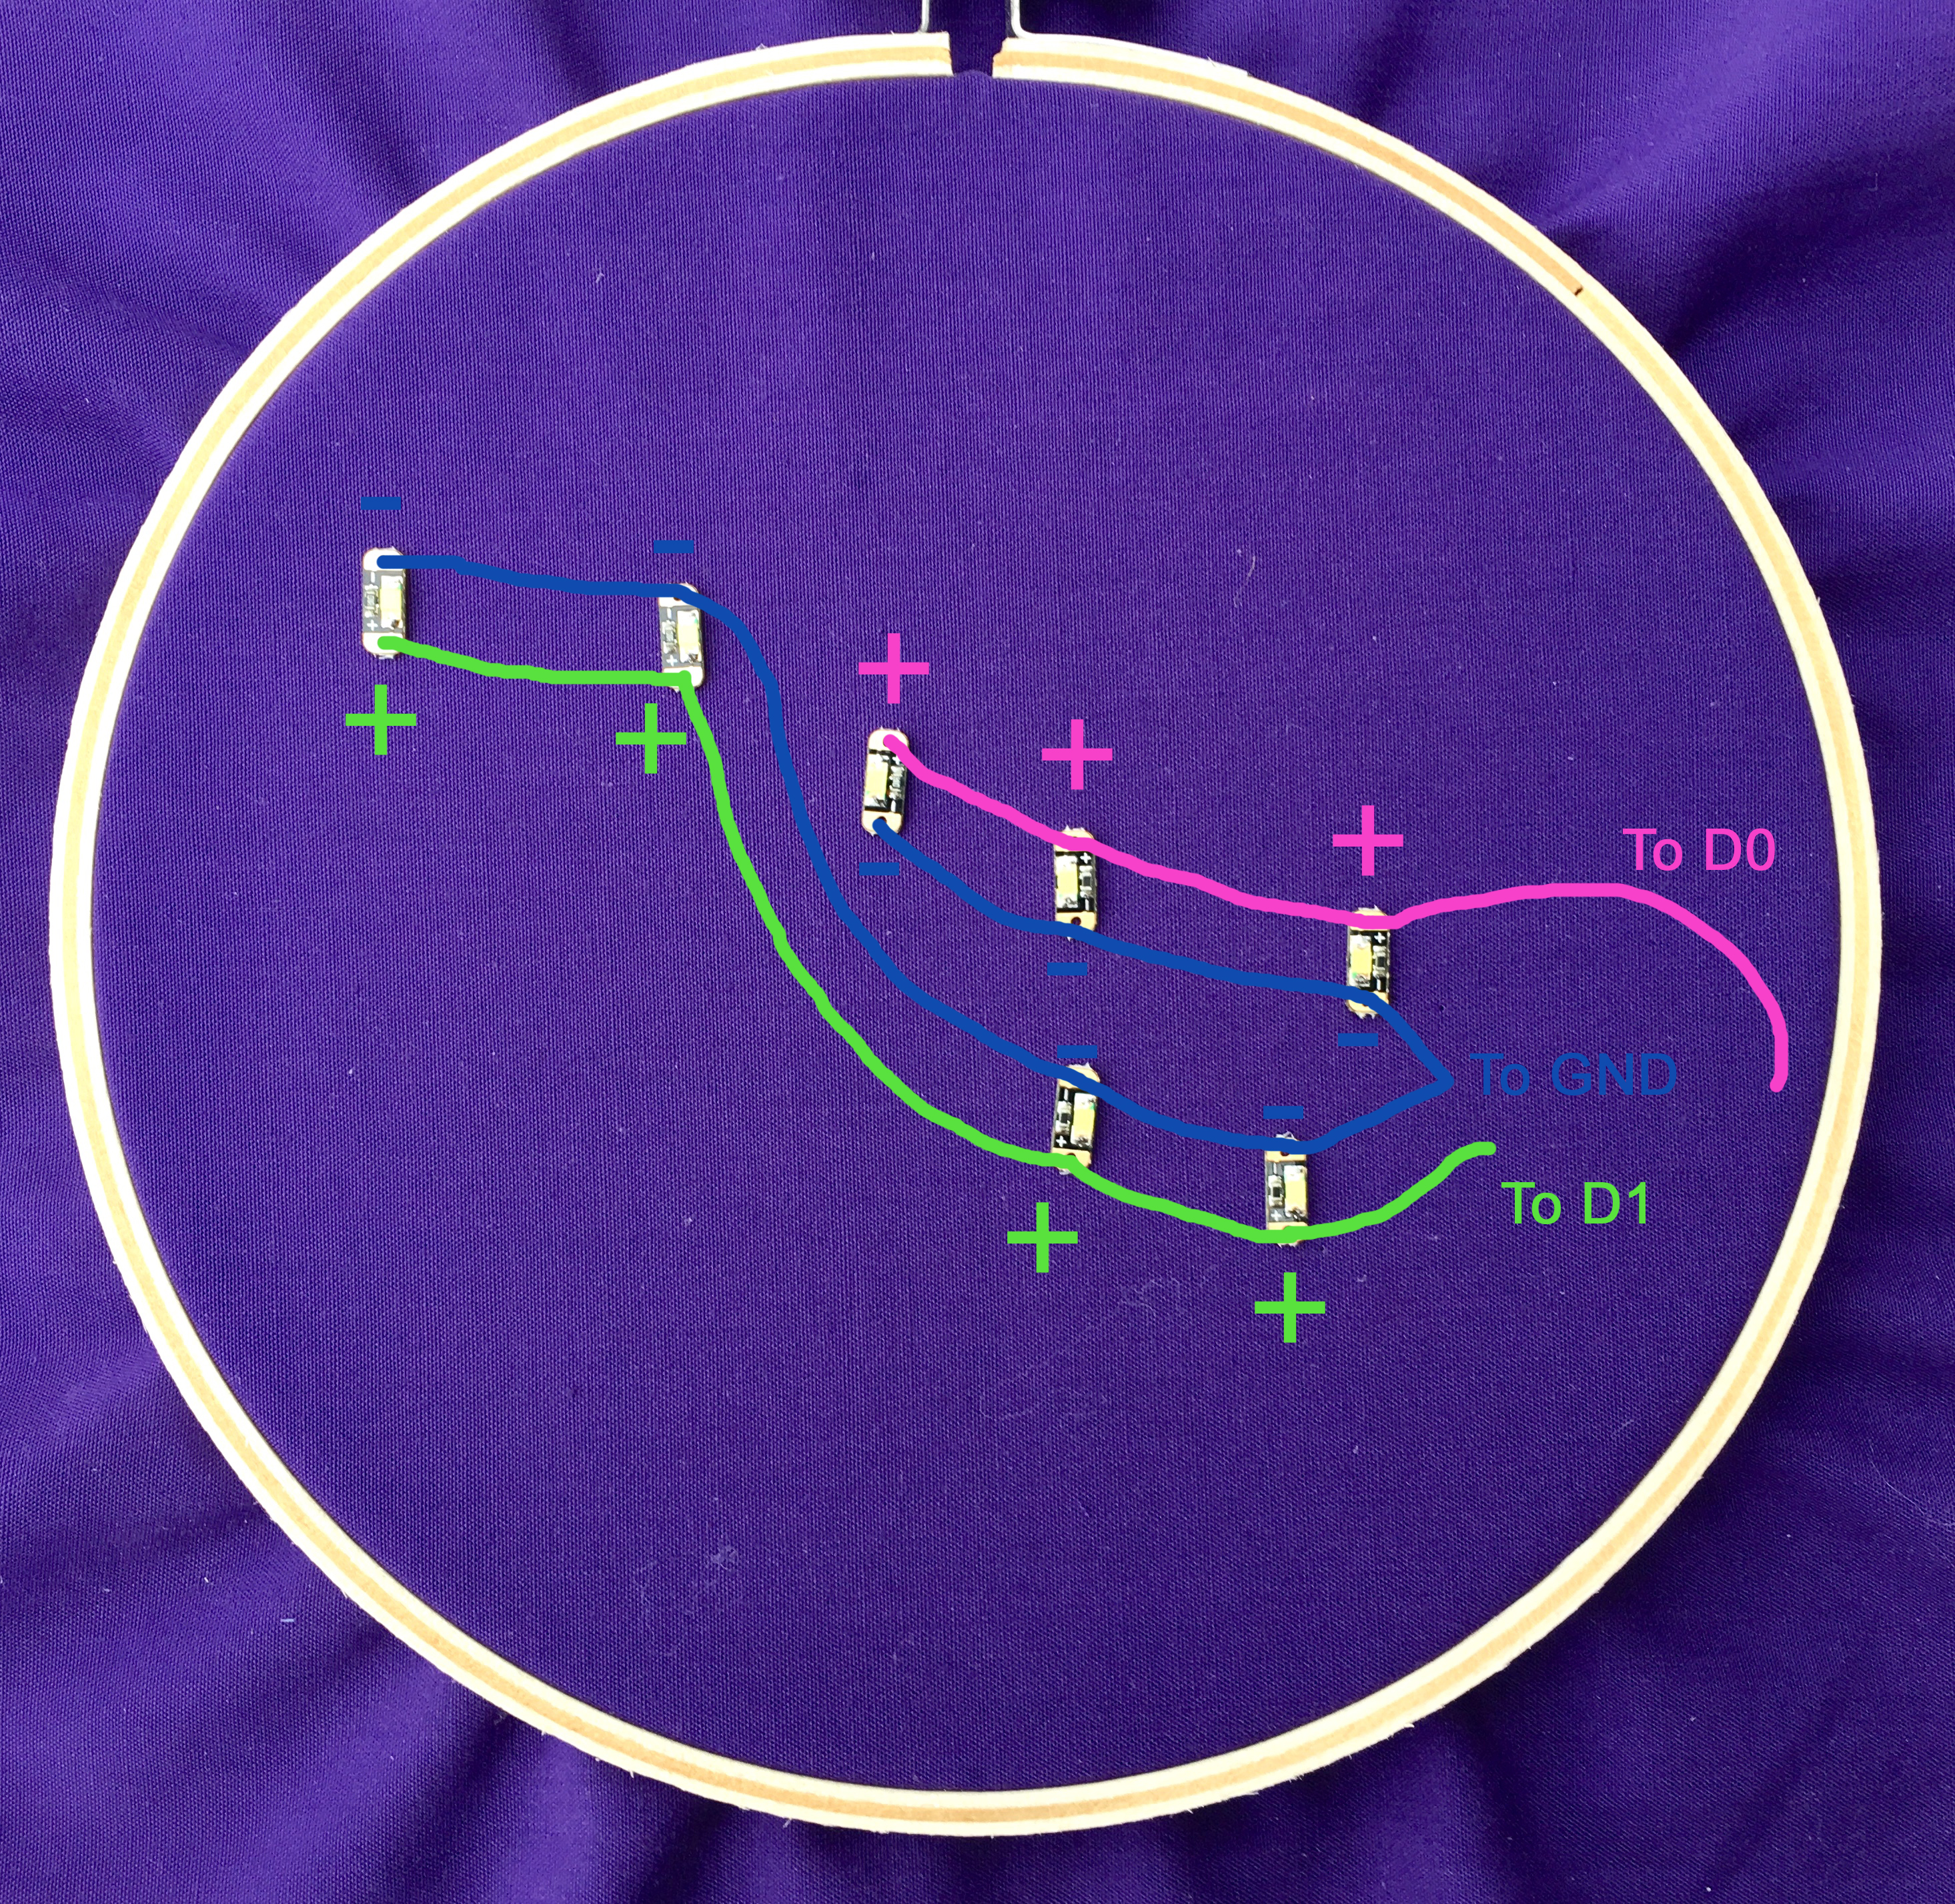
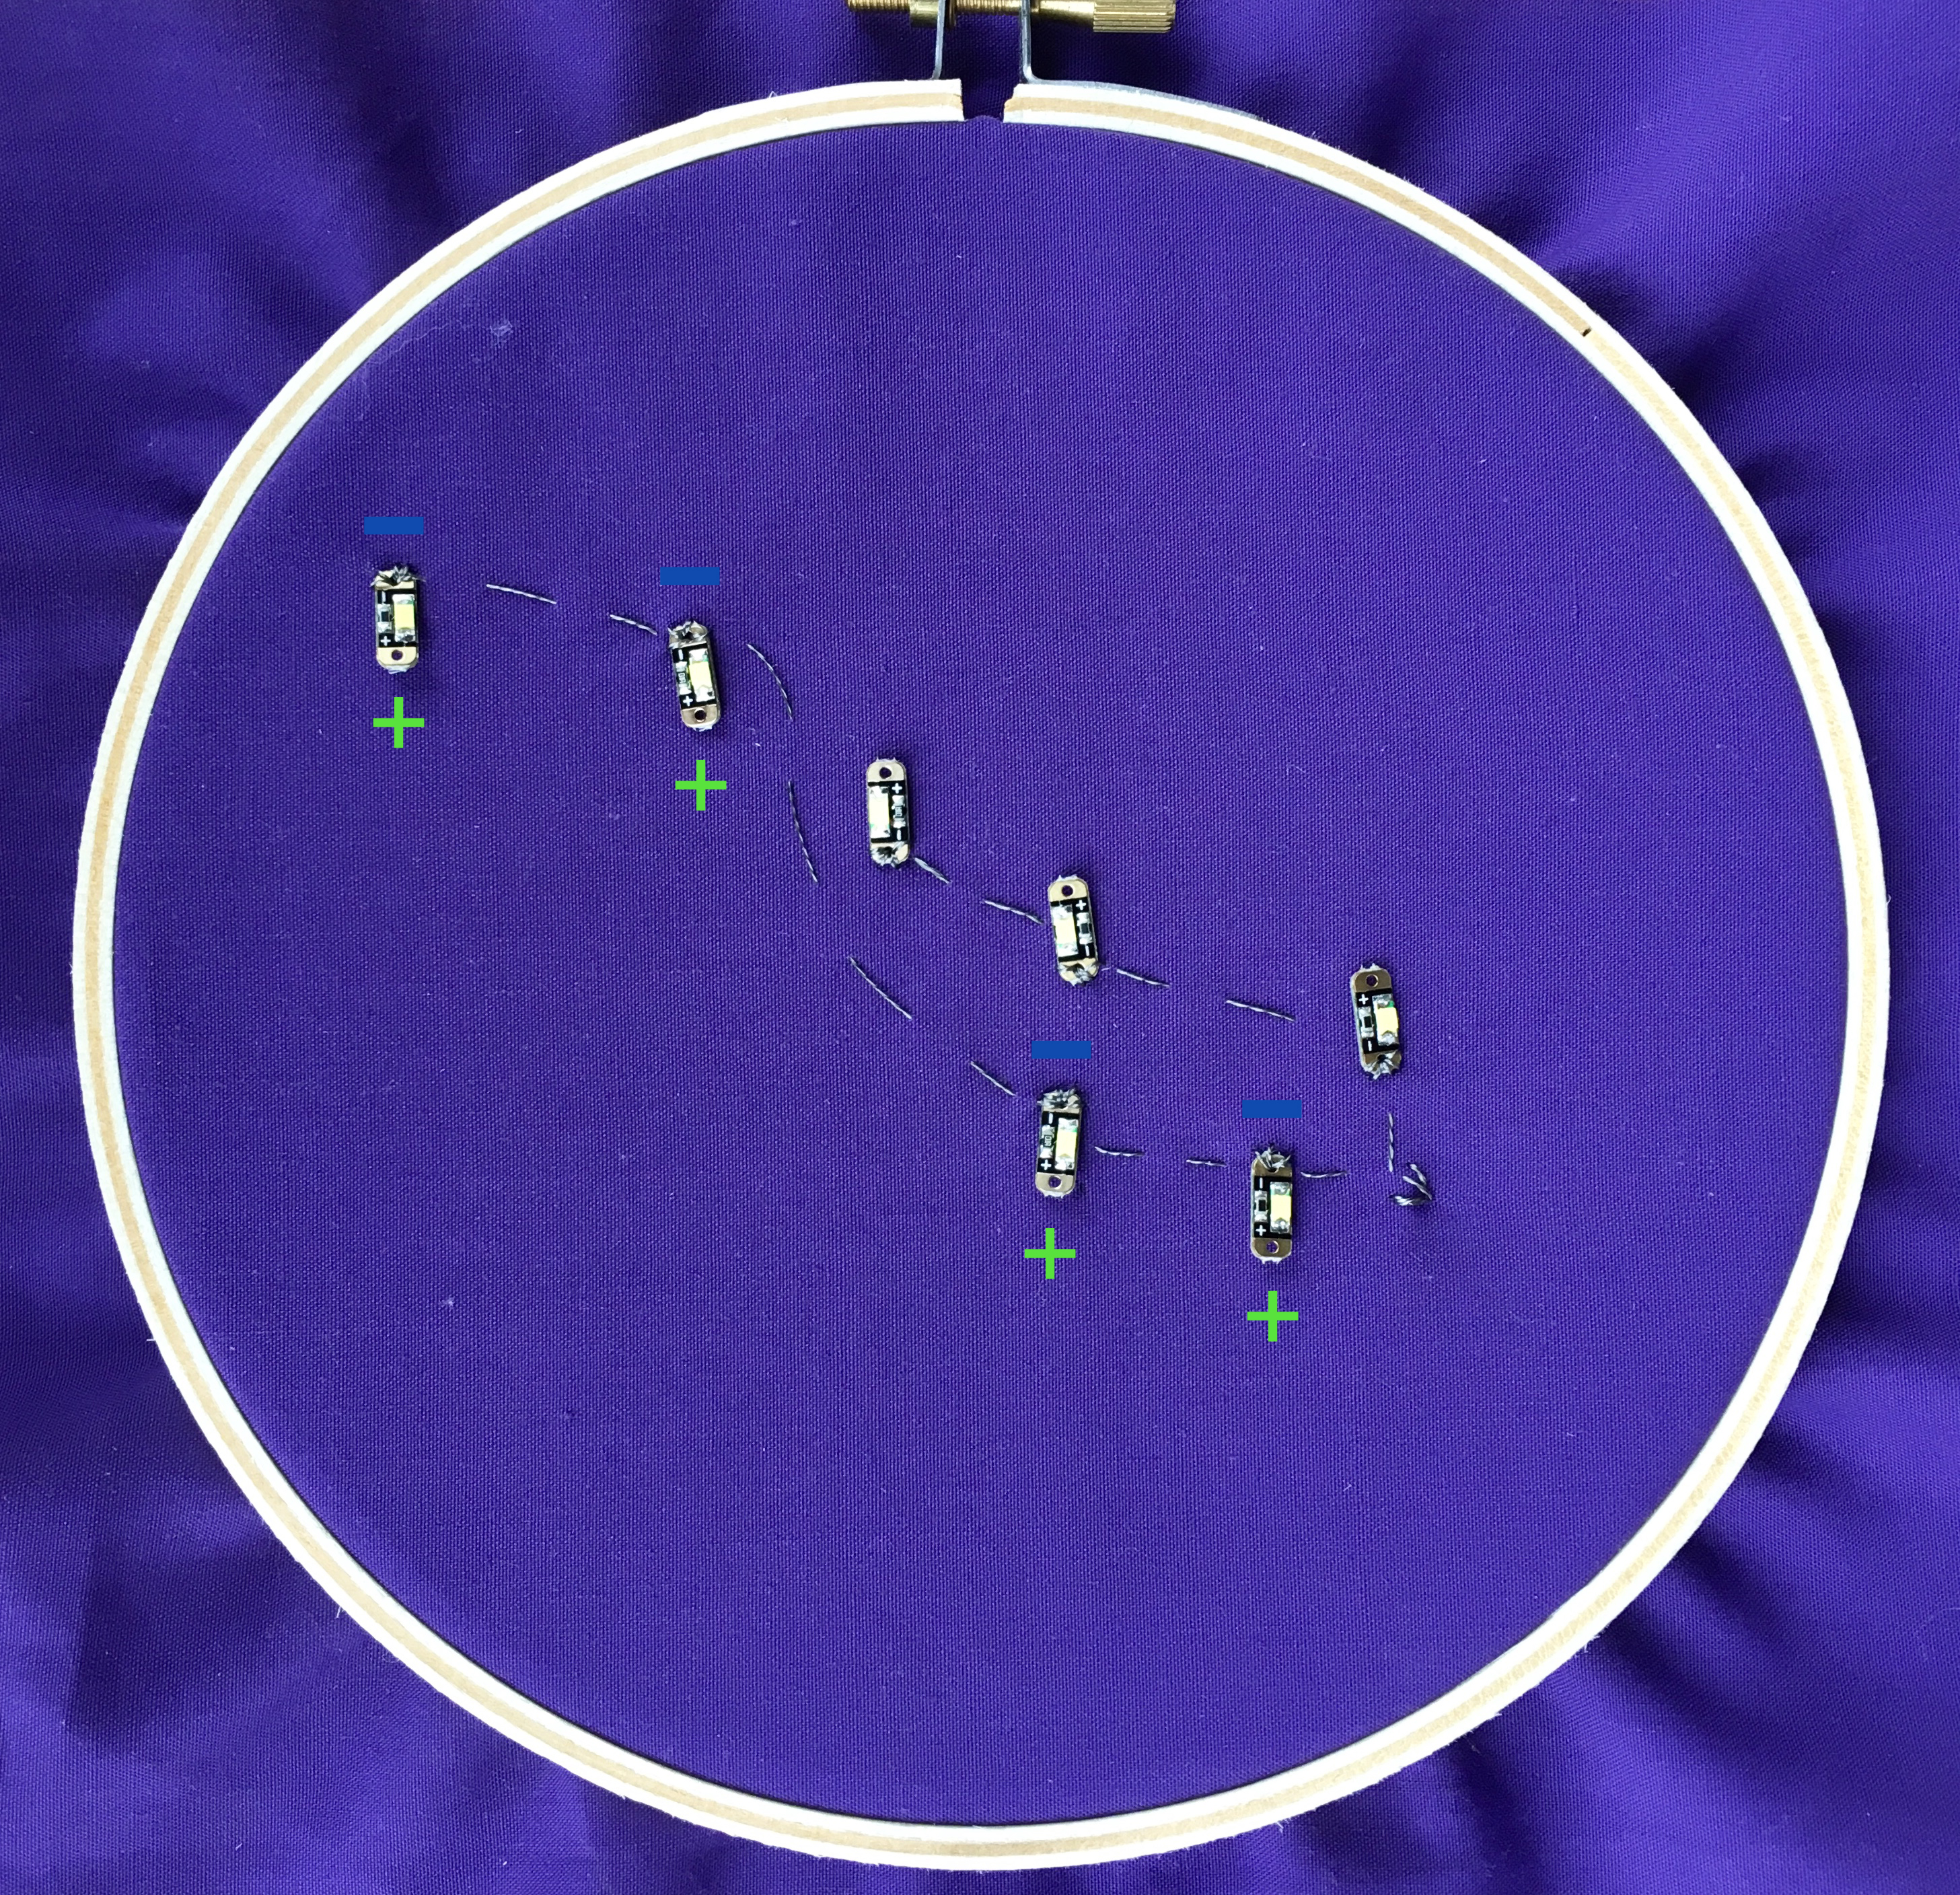
As with all e-textile projects, we must avoid crossing threads from power and ground to prevent short circuits. It’s always worth sketching out your design before starting to sew. The labeled diagram below serves as a roadmap for the Big Dipper. Notice how the LEDs in the pink group have their positive sides facing up, while the LEDs in the green group have their positive sides facing down. This is so they can more easily share a common ground thread, shown as the blue connection in the diagram.
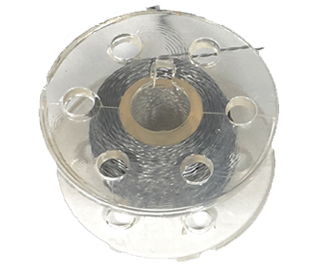
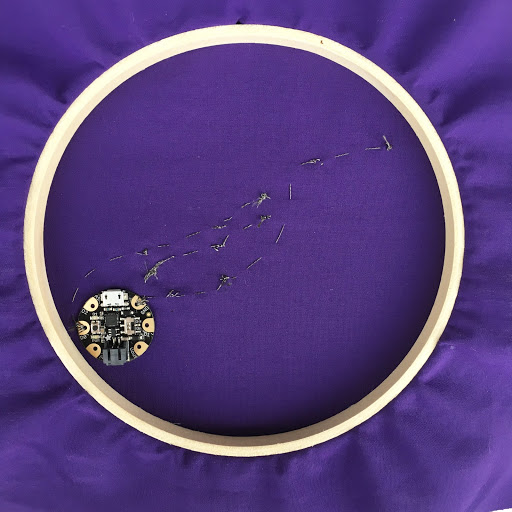
Once your positioning is marked onto the fabric, cut about a foot of conductive thread and begin sewing the negative terminals of the top right (pink) LED group, as shown below.
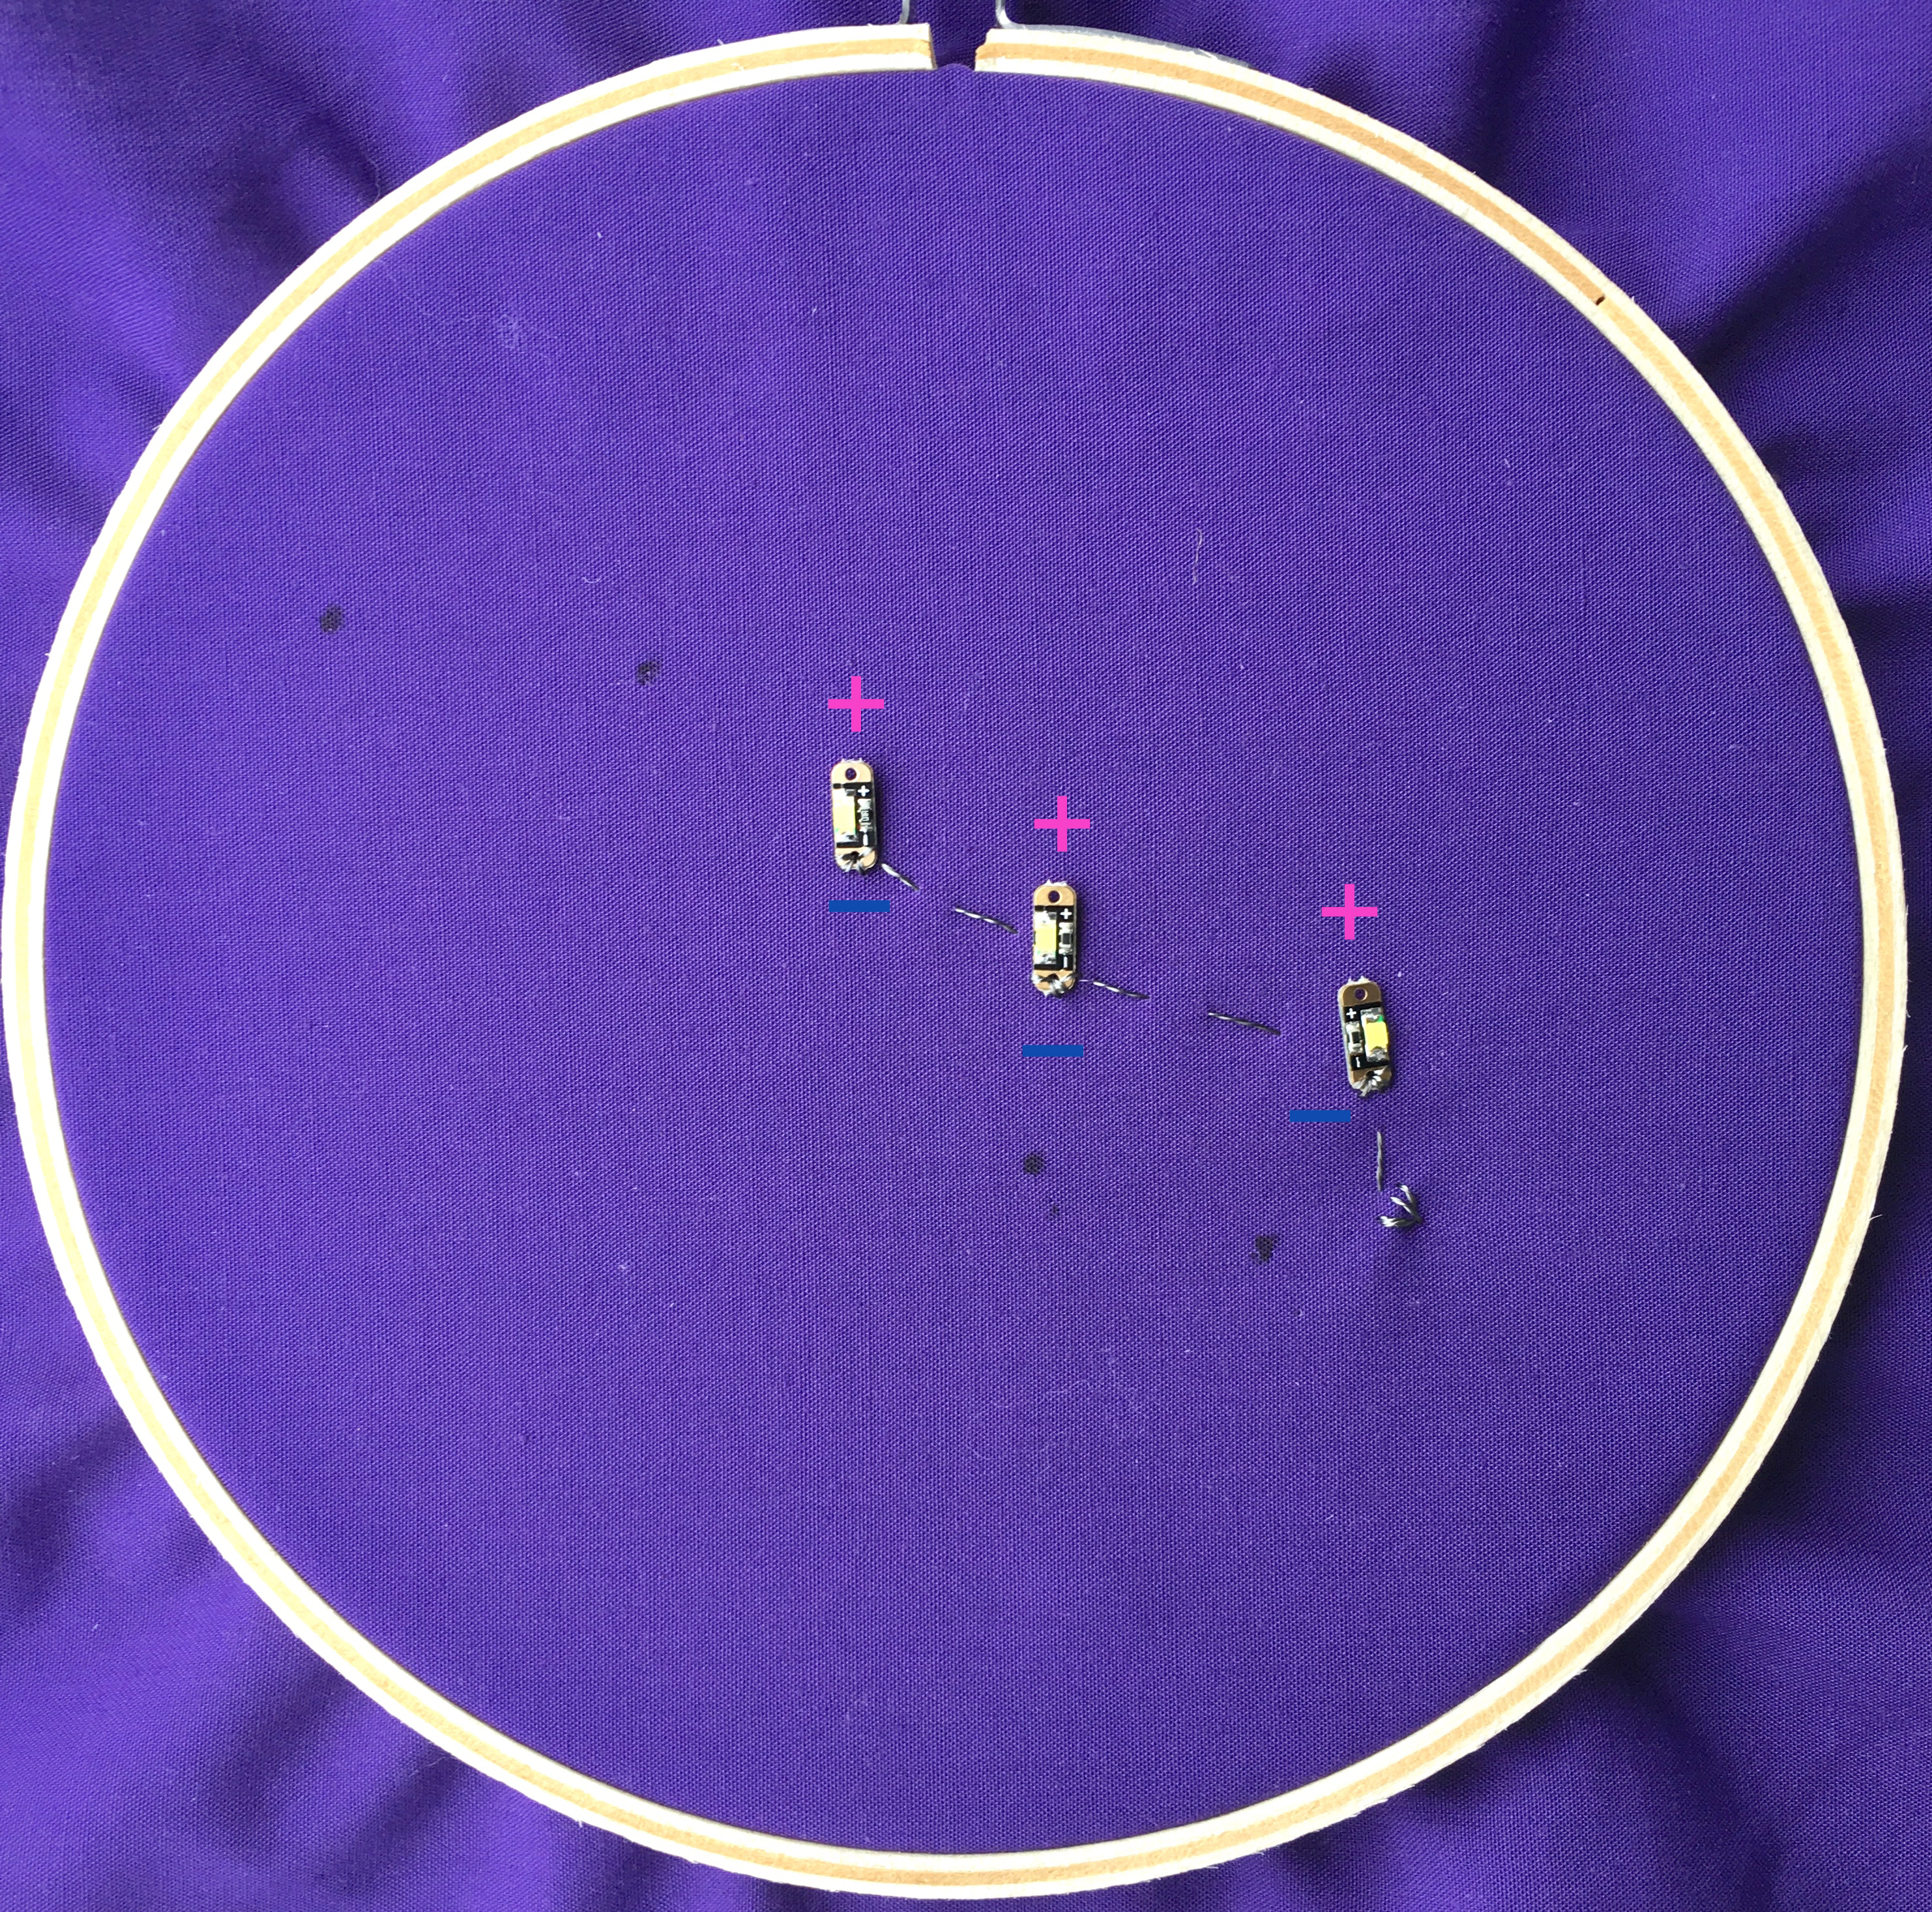
Now sew down the negative terminals of the second group of LEDs. Both groups’ thread should be sewn around the Gemma’s GND pad.
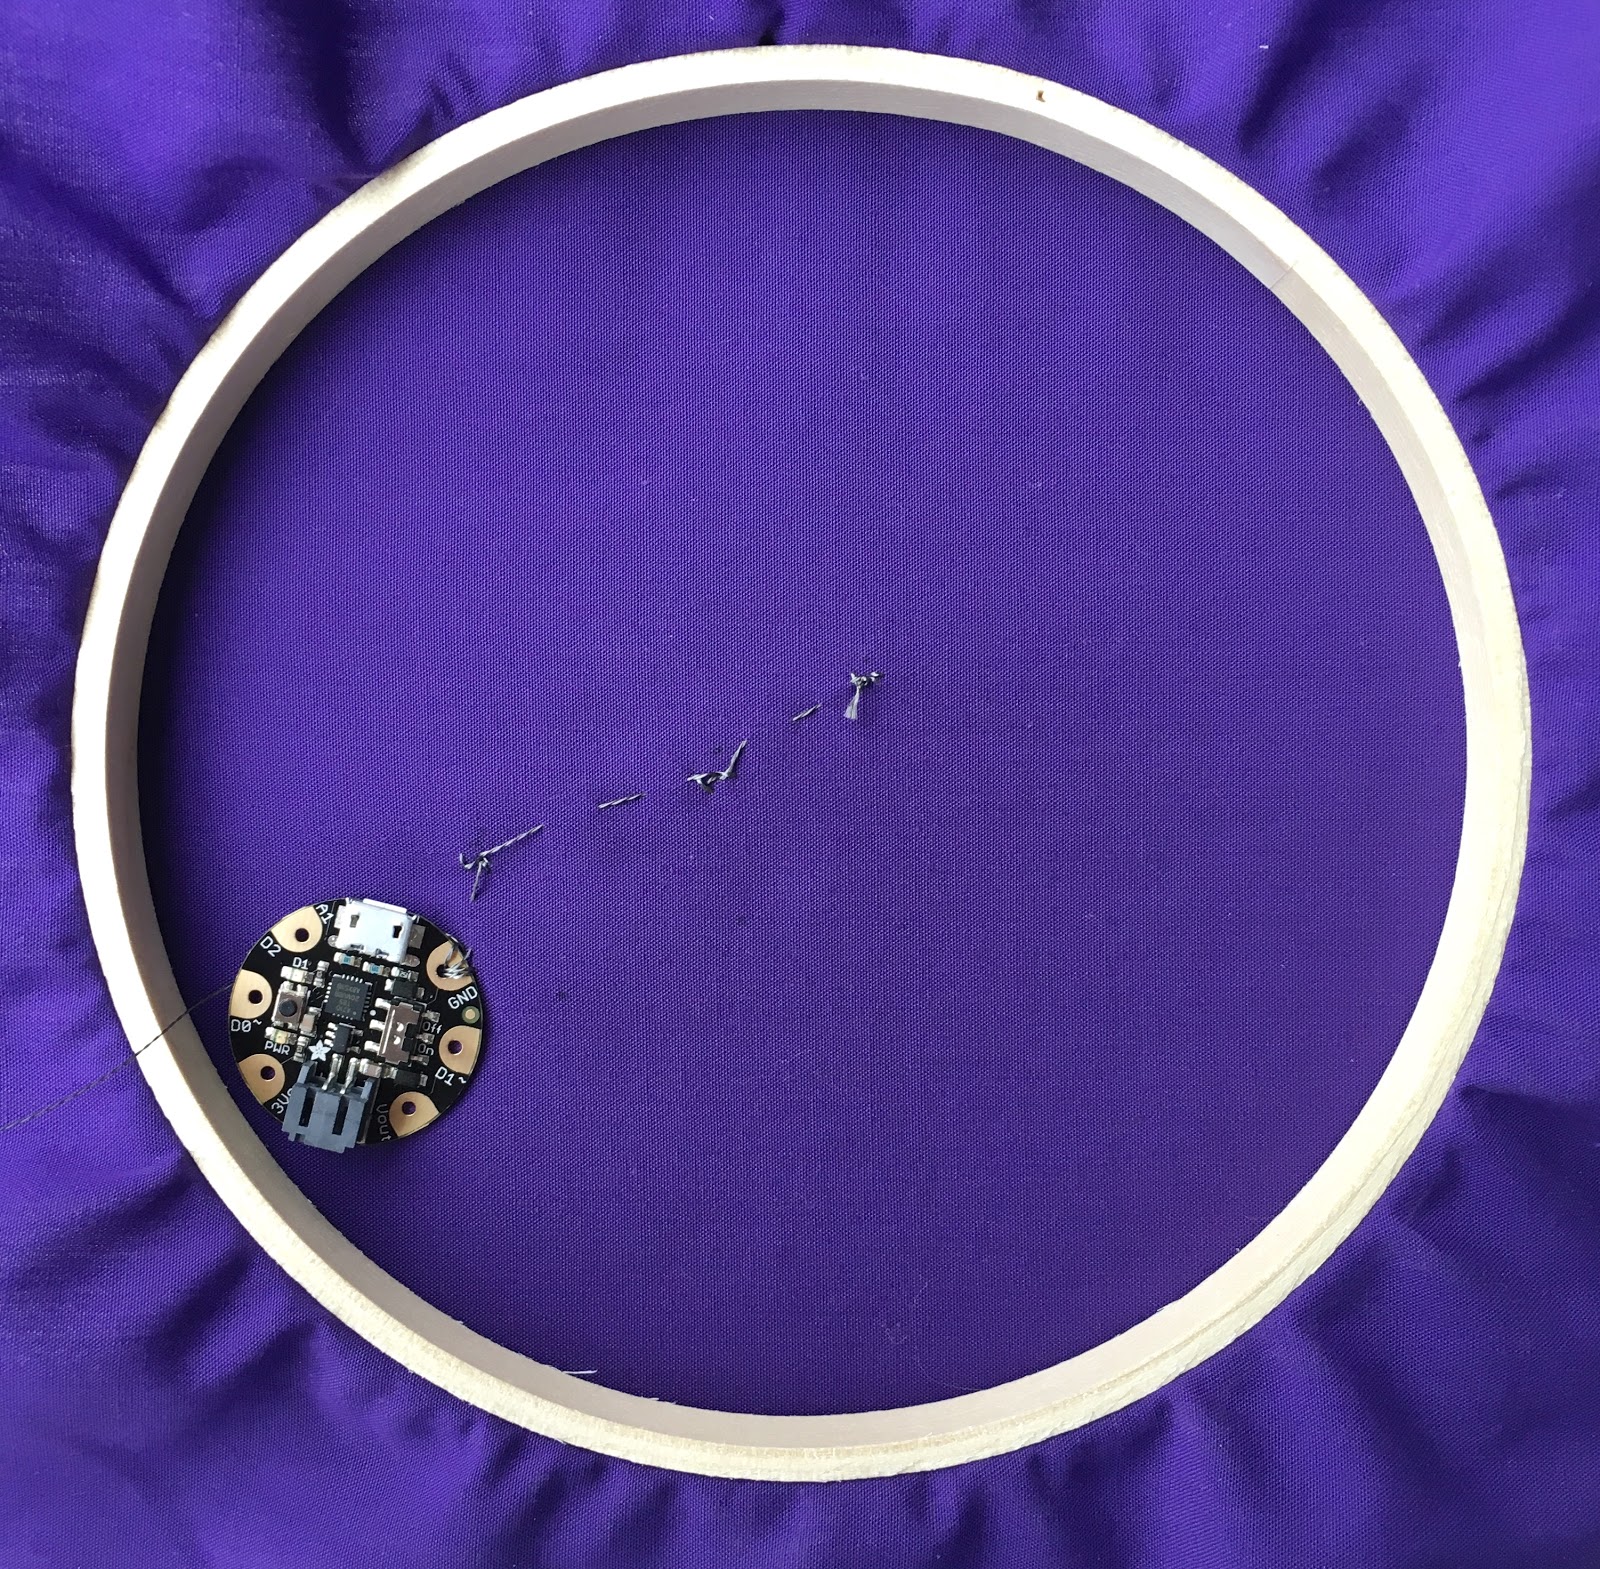
Now you’ll make connections to the Gemma’s digital pins, which will control the LEDs’ twinkling speed. The code takes advantage of the analogWrite function you learned about in the desktop fan project. Because we need PWM (~) pins to properly use analogWrite, we will make connections to pin D0 and D1. Sew the positive terminals of group one to Gemma pin D0.
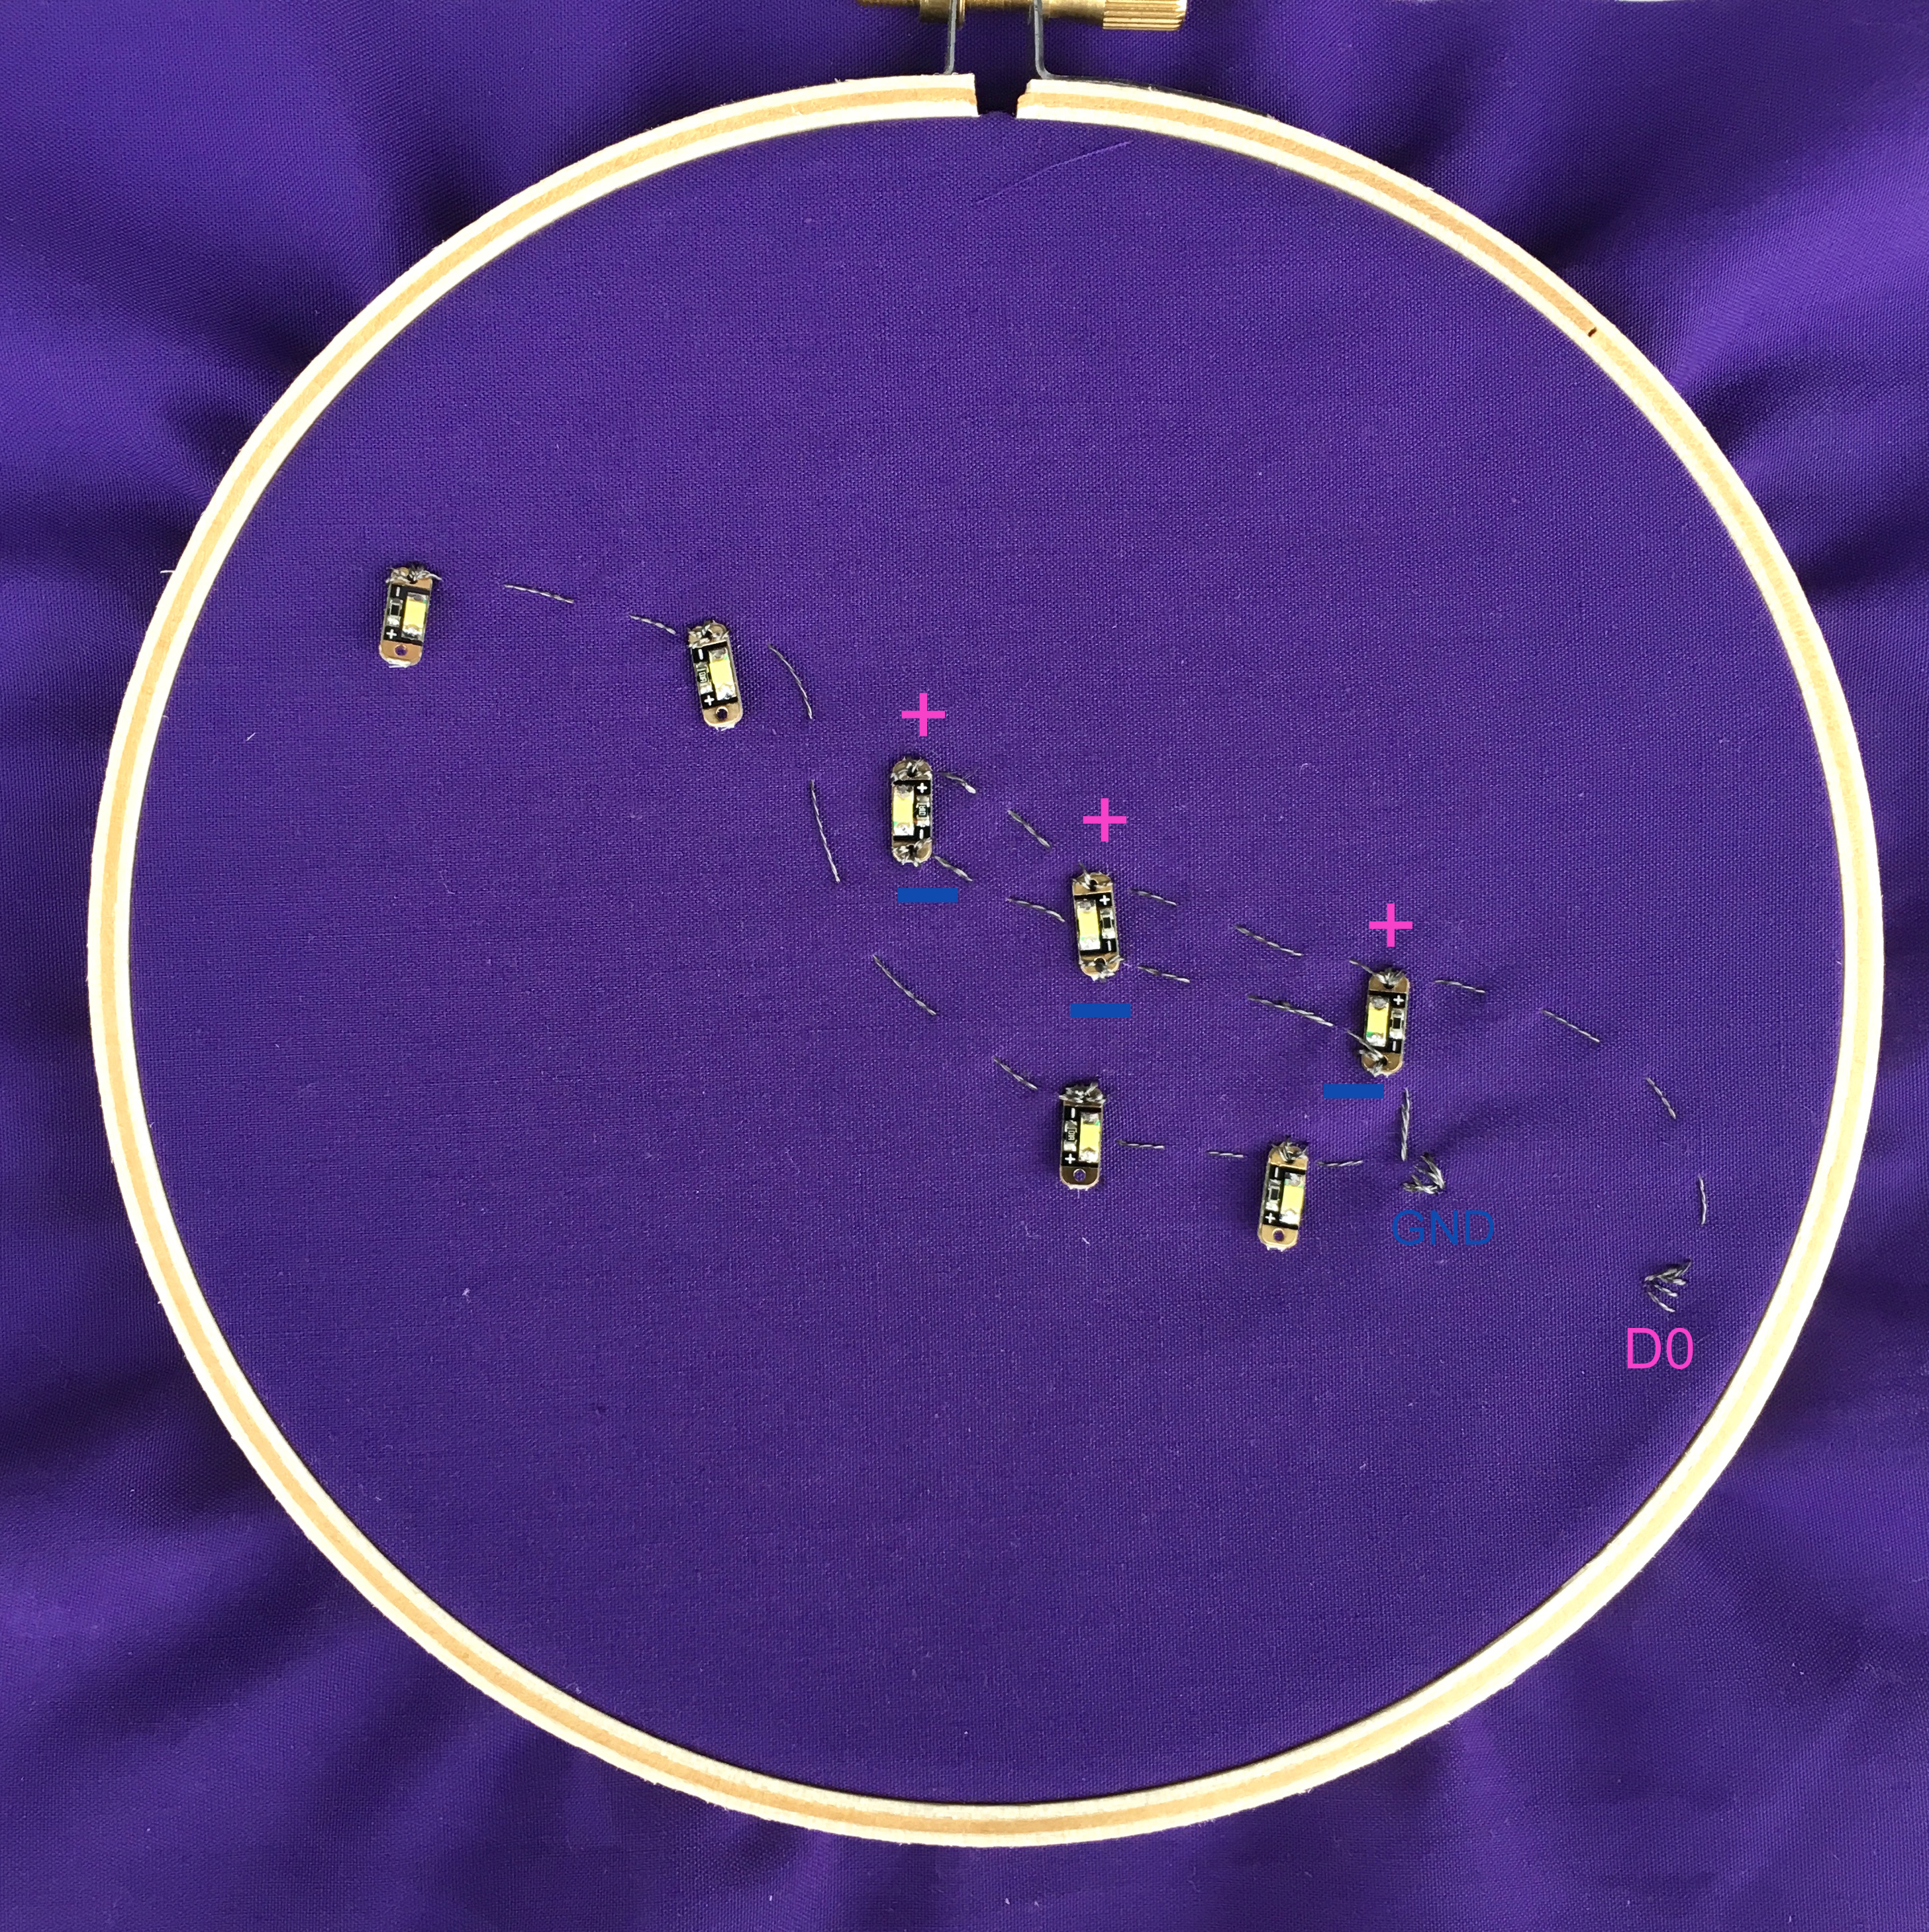
You’re almost there! All that’s left is the positive terminals of group two. Sew them to pin D1.
You’re done sewing! Connect your Gemma to your computer and take a look at the code below. We want our two groups of LEDs to fade in and out at different times, so we give them each a brightness variable that increases by a unique fade rate. When the LED reaches peak brightness, we subtract the fade rate until we reach the minimum brightness, and repeat. Experiment with the fade rate, minimum brightness, and maximum brightness as much as you’d like. Depending on the thickness of your fabric, you may want to increase or decrease your brightness variables.
    // These numbers are a personal preference. Change them as you wish!
    int brightness0 = 4;
    int brightness1 = 4;

    int fadeRate1 = 5;
    int fadeRate0 = 4;

    int minBrightness = 4;
    int maxBrightness = 50;

    void setup(){
      pinMode(0, OUTPUT);
      pinMode(1, OUTPUT);
    }

    void loop(){
      analogWrite(0, brightness0);
      analogWrite(1, brightness1);

      brightness1 += fadeRate1;
      brightness0 +=  fadeRate0;

      if (brightness1 <= minBrightness || brightness1 >= maxBrightness) {
        fadeRate1 = -fadeRate1;
      }

      if (brightness0 <= minBrightness  || brightness0 >= maxBrightness) {
       fadeRate0 = -fadeRate0;
      }

      delay(150);
    }
Once you’re satisfied with your twinkling pattern, it’s time to finish up the hoop. Cut a second layer of fabric and place it in the hoop over your first layer. Sheer fabrics look especially nice, but you can change the brightness levels of your LEDs to shine through thicker fabrics, too.
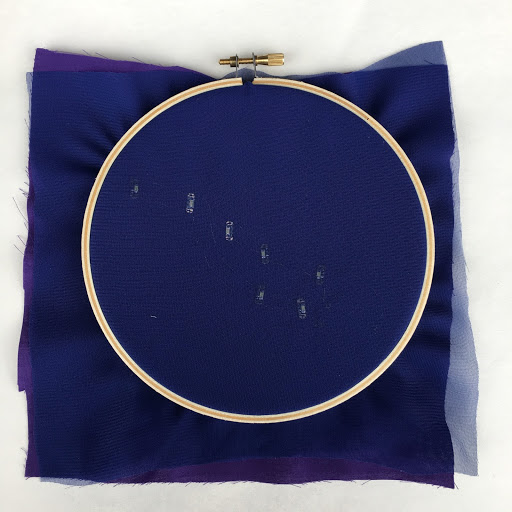
Once your top layer is in the hoop, use white thread to stitch dotted constellation lines between the LEDs. You can also add stars, planets, or your own creative touches on the rest of the fabric.
When you’re done stitching, trim away excess fabric to leave about 1” of fabric around the hoop. You can glue the raw fabric edges to the back sides of the hoop. Alternatively, knot a long piece of thread and make long stitches around the hoop to gather the excess fabric. Pull the thread tight and knot it off. The raw fabric will now be gathered around the back of the hoop.
Finally, plug a battery into the Gemma’s JST port and switch on the microcontroller. Watch your design sparkle!